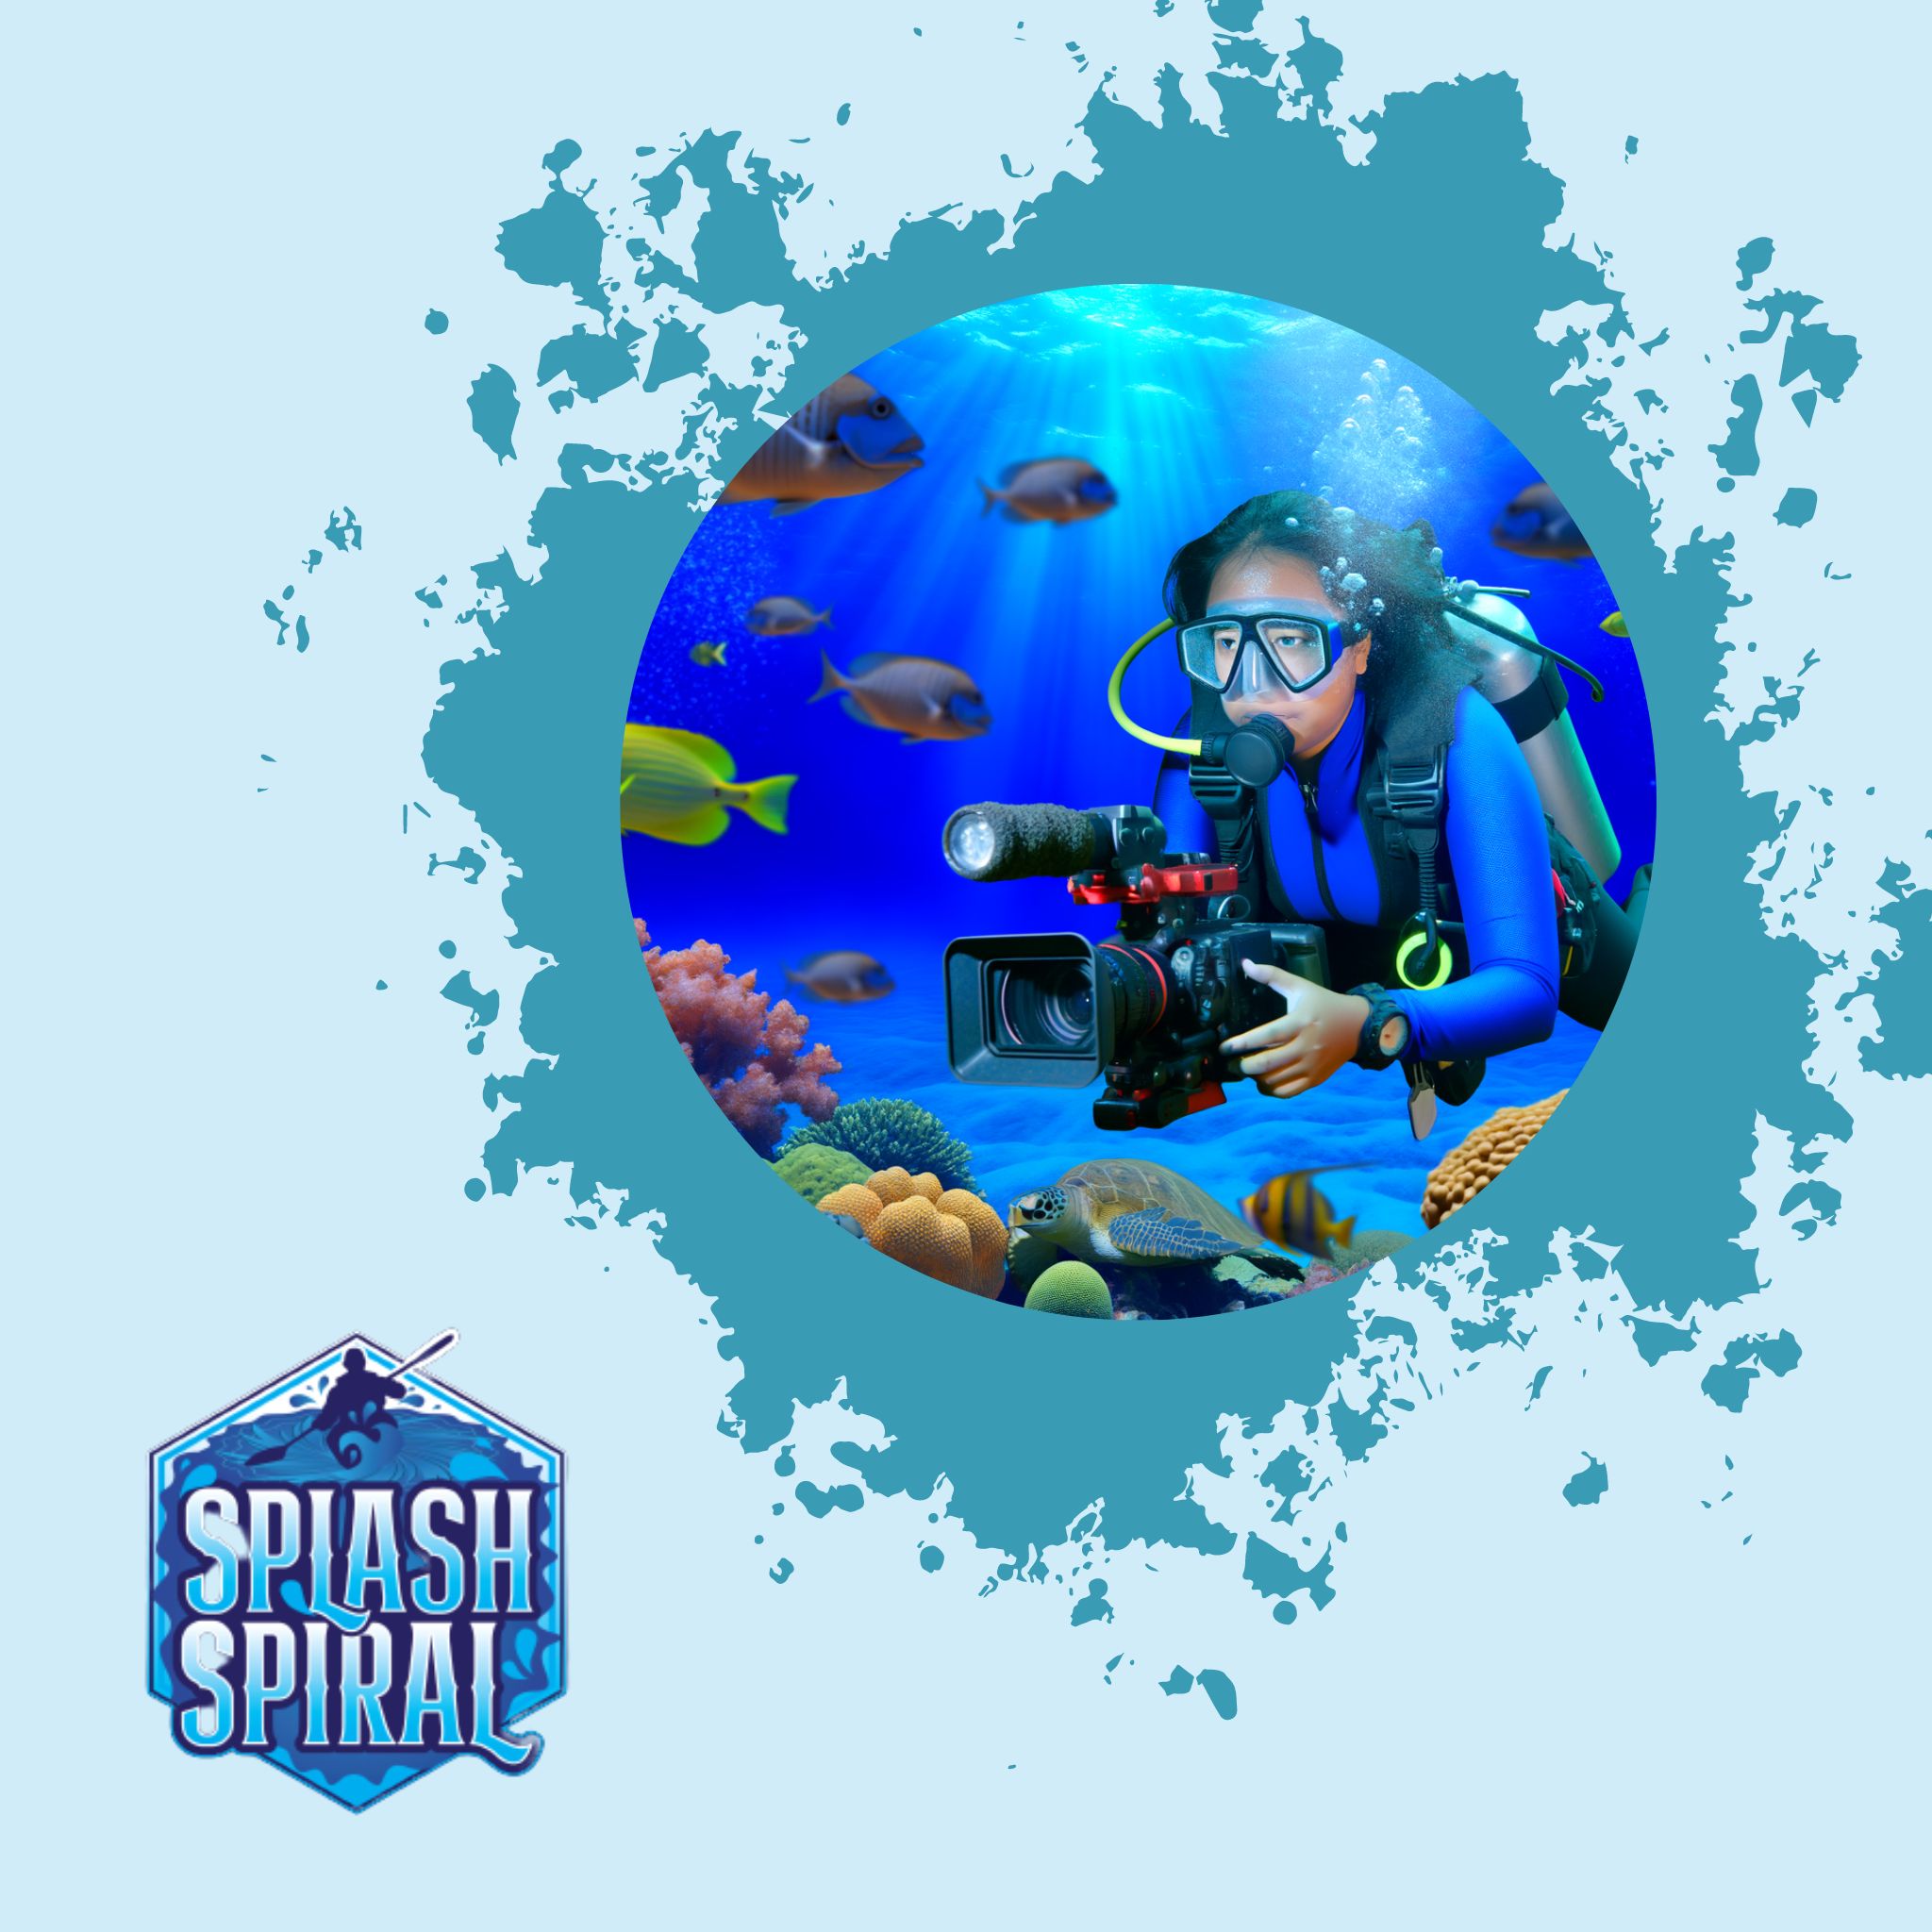
Diving into the world of underwater videography opens up a realm of stunning marine landscapes and vibrant sea life. As exciting as it can be, capturing compelling underwater footage requires mastering certain techniques and knowing how to use specialized equipment. This guide will dive into the fundamental techniques and tools you'll need to get started with underwater videography.
Introduction
Welcome to the world of underwater videography, where stunning marine landscapes and vibrant sea life come to life on screen. This guide is designed to help you capture this mesmerizing underwater world with clarity and precision. As with any specialized skill, mastering underwater videography involves not just an eye for beauty, but also a firm grasp on particular techniques and equipment. From handling buoyancy to adjusting for unique lighting conditions, the right know-how can transform your footage from ordinary to extraordinary. Ready to start your journey? Let's dive in.
Understanding the Basics of Underwater Videography
Diving into underwater videography isn't just about submerging your camera and hitting record. Whether you’re snorkeling near a coral reef or diving into the deeper ocean blue, understanding the unique demands of underwater filming is crucial to producing captivating footage.
1. The Unique Challenges of Filming Underwater
Filming underwater presents a unique set of challenges that differ significantly from shooting on land. Water is 800 times denser than air, which not only affects how light travels but also impacts buoyancy and movement.
-
Light Refraction and Absorption: The underwater environment refracts light differently, making objects appear closer and larger. Colors progressively disappear with depth: red vanishes first at around 5 meters, followed by orange, yellow, green, and finally blue. This means you need to compensate for the loss of color and light, often requiring supplementary lighting.
-
Buoyancy and Movement: Staying steady underwater isn't as simple as standing still. Mastering buoyancy control is crucial to avoid shaky footage and maintain a steady shot. Even a slight movement can cause significant camera shake, so using dive techniques to stay as still as possible is vital.
2. Essential Underwater Video Gear
Getting the right gear is indispensable when venturing into underwater videography. The saltwater environment can be unforgiving, so ensuring your equipment is up to the task is priority number one.
-
Cameras and Housings: Not all cameras are suitable for underwater filming. You'll need one that can manage low-light conditions and fast focus speeds. Waterproof housings are a must to protect your gear from water damage. Make sure the housing is rated for the depths you plan to dive.
-
Lenses: Wide-angle and macro lenses are most commonly used underwater. A wide-angle lens allows you to get close to your subject while still capturing the environmental context, useful for large subjects like shipwrecks or coral reefs.
3. Importance of Lighting in Underwater Videography
Lighting is everything when it comes to underwater videography. As mentioned earlier, natural light fades quickly with depth. Supplemental lighting, like strobe lights and video lights, can help reclaim the colors lost underwater.
- Artificial Lighting: Investing in strong, reliable underwater lights is essential. Strobe lights are perfect for stills, while continuous video lights work best for filming. Positioning is key: lights should ideally be angled to minimize backscatter—tiny particles in the water that can cloud your footage.
By understanding these basics, you’re laying a solid foundation for your underwater videography journey. Each dive becomes an opportunity to refine your skills, and every piece of gear and technique you master brings you closer to capturing the mesmerizing beauty of the underwater world.
Key Underwater Videography Techniques
1. Mastering Buoyancy and Stability
Understanding buoyancy and maintaining stability underwater is fundamental. The ocean isn't a stable environment; currents and your own breathing can cause unwanted camera movement. Here are some key tips:
-
Practice Your Buoyancy
- Use your BCD (buoyancy control device) properly to maintain a steady position
- Make small adjustments and use your breath to fine-tune your buoyancy
-
Camera Rigs
- Consider using stabilizing rigs to keep your camera motion smooth
-
Body Control
-
Minimize your own movement
-
Settle in a position where you can float without exerting too much energy, keeping your camera steady for better shots
2. Understanding and Using Natural Light
Natural light behaves differently underwater. It gets absorbed and scattered, changing the color and intensity the deeper you go. Here’s how to make the most of it:
-
Shallow Dives
- In shallow water (up to around 10 meters), rely significantly on natural light
- Shoot with the sun behind you to illuminate your subjects well
-
White Balance
- Adjust your camera’s white balance to counteract the blue or green tint from deeper water
-
Low Light Settings
-
For deeper dives where natural light is scarce, adjust your camera settings
-
Lower the ISO and use a slower shutter speed for clearer footage
3. Techniques for Capturing Marine Life
Capturing marine life without disturbing them can be tricky but essential for natural and appealing footage.
-
Approach Slowly
- Move calmly and avoid sudden movements
- Marine animals are less likely to be scared away, giving you a chance to film their natural behavior
-
Respect the Environment
- Avoid touching or disturbing marine life and their habitats
-
Anticipate Movement
-
Understand the patterns and habits of the species you're filming
-
This knowledge will help you anticipate their movements and get better shots
4. Composition and Framing Underwater Shots
Composition is just as crucial underwater as it is on the surface. Utilize these principles:
-
Rule of Thirds
- Position your subject off-center to create a more balanced and interesting shot
-
Leading Lines
- Use natural lines in the underwater environment to draw the viewer’s eye towards the main subject
-
Background Awareness
-
Pay attention to what's behind your subject
-
A cluttered background can distract from your subject, while an open space can make it stand out
By mastering these fundamentals, you'll be well on your way to capturing stunning underwater footage. Remember, practice makes perfect, so get out there and start filming!
Advanced Techniques for Stunning Underwater Footage
Filming Underwater in Different Conditions
Underwater environments can vary greatly, influencing how you capture footage. Filming on a vibrant reef teeming with sea life is different from navigating the murky depths of an open water dive or exploring the eerie beauty of a sunken wreck. Each setting presents unique challenges and opportunities.
Reefs
When diving on reefs, vibrant colors and dynamic sea life abound, making them ideal for stunning close-ups and wide shots.
- Utilize the natural light available but be prepared to switch on your video lights as you go deeper to keep those colors popping.
Open Water
Open water dives often feature expansive blue backgrounds, which can pose a challenge for depth and context.
- Maintaining buoyancy and using reference points (like another diver or a sea mount) can help frame your shots better.
- Given the limited light penetration, adjust your camera settings to higher ISO and use appropriate lighting gear.
Wrecks
Filming wrecks adds a dramatic element to your videos.
- The confined spaces and often lower light conditions necessitate more controlled movements and lighting.
- Carry a powerful video light to illuminate shadows and highlight the intricate details of the wreck structure.
Post-Production Tips for Underwater Videos
Post-production is where your raw footage transcends into breathtaking visuals. Here are some essential tips:
Color Correction
Underwater footage often appears blue or green due to light absorption at different depths.
- Basic color correction can restore the vividness of marine life.
- Use editing software tools to adjust white balance, contrast, and saturation, bringing those lost reds and yellows back to life.
Stabilization
Even with careful shooting, underwater scenes can be shaky.
- Use stabilization features in your editing software to smooth out footage, providing a more professional and polished look.
Cutting and Timing
Effective storytelling in underwater videography is about showcasing the best shots and maintaining viewer interest.
- Trim unnecessary parts and carefully sequence your clips to build a narrative.
- Pacing your cuts and transitions will keep your audience engaged, whether you're highlighting a dive site's beauty or showcasing marine behavior.
Sound Design
While underwater sound recording is challenging, incorporating sound effects or ambient music can significantly enhance the viewing experience.
- Use royalty-free sounds of bubbles, marine creatures, or serene background music to complement your visuals.
Mastering these advanced techniques will allow you to tackle diverse underwater conditions with confidence, ensuring that your final productions are as captivating as the dives themselves.
Gear Maintenance and Pre-Dive Checks
Taking care of your underwater video equipment is crucial to ensure longevity and reliability, especially in the challenging conditions of the ocean. Here are the essential steps you need to follow for maintaining your gear and conducting pre-dive checks.
Post-Dive Gear Maintenance
-
Rinse Thoroughly with Freshwater: After every dive, rinse your camera housing, lights, and other equipment with freshwater. Saltwater corrosion is a major enemy of underwater gear, and even a short exposure can cause problems over time. Make sure to operate the buttons and controls while rinsing to clear out any trapped salt or debris.
-
Dry Completely: Allow your equipment to air dry in a shaded area away from direct sunlight. Using a towel can leave behind fibers that may interfere with seals later on.
-
Inspect for Damage: Check O-rings, seals, and other critical components for signs of wear or damage. An undetected tear or nick in an O-ring can lead to leaks that could flood your precious equipment. Replace any parts as necessary.
-
Lubricate O-Rings: Apply a thin layer of silicone grease on the O-rings after cleaning them. This keeps them supple and maintains an effective waterproof seal. Make sure they are free of sand, hair, or any particulates before reassembling your housing.
-
Charge and Store Batteries Properly: Recharge your batteries immediately after use and inspect them for any signs of swelling or damage. Always store batteries in a cool, dry place and follow the manufacturer’s recommendations for long-term storage.
Pre-Dive Checks
Performing thorough pre-dive checks can prevent costly malfunctions and ensure your dive goes smoothly.
-
Inspect O-Rings and Seals: Double-check that all O-rings and seals are properly seated and lubricated. There should be no visible damage.
-
Check for Proper Assembly: Make sure your camera is securely placed within its housing and that housing latches are closed properly. Test the housing's watertight integrity in a shallow pool or bucket before taking it to the dive site.
-
Test Functionality: Turn on all your equipment to make sure everything is functioning correctly—lights are working, buttons and levers are operational, and the camera powers on and shoots as expected.
-
Battery Levels: Ensure all batteries are fully charged. Carry spare batteries (kept in a waterproof container) as a backup.
-
Memory Cards: Always have an empty and formatted memory card in your camera to avoid running out of storage space mid-dive. Ensure that the card compartment is sealed correctly.
-
Safety Line and Tethers: Attach safety lines and tethers to your equipment. This will help you avoid losing gear should something slip from your grasp during the dive.
Prepping and maintaining your underwater video equipment can seem tedious, but these practices are non-negotiable for capturing stunning underwater footage without the hassle of equipment failure. Treat your gear like the valuable investment it is, and it will reward you with years of reliable performance.
Conclusion
We've journeyed through the essential techniques for underwater videography, from mastering buoyancy and using natural light to effectively framing your shots. Remember, the key points to focus on are understanding the unique challenges of filming underwater, investing in the right gear, and constantly practicing your skills. Paying close attention to lighting and refining your approach to capturing marine life can significantly improve your footage.
As you embark on your underwater filming adventures, don't shy away from experimenting with different techniques and equipment. The underwater world is ever-changing, and every dive presents new opportunities to learn and capture stunning visuals.
Ready to take the plunge? Dive into our comprehensive guide on diving for more tips and inspiration. Happy filming!