Diving into underwater photography? One crucial aspect you'll need to get your head around is white balance. As beginners, understanding and adjusting white balance can genuinely transform your underwater images from murky blues and greens into vibrant captures.
Introduction
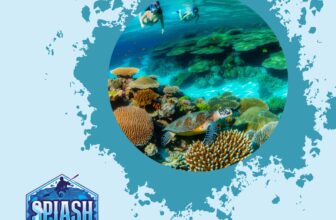
White balance might sound like a complicated term, but it's simply about ensuring your photos capture colors as accurately as possible. When you're dealing with underwater photography, this concept becomes even more crucial. The underwater environment plays tricks on how colors appear due to light absorption and scattering, transforming those stunning marine scenes into a sea of blue and green if not handled properly.
Why is white balance so important underwater? Water filters out the red, orange, and yellow hues first, leaving your images washed out and monochromatic as you dive deeper. This loss of color fidelity can make it challenging to showcase the true beauty of your underwater subjects, whether it's vibrant corals or the fascinating textures of a shipwreck.
Common challenges faced when shooting underwater include dealing with varying light conditions at different depths, the movement of both the water and subjects, and the constant need to adjust your settings as you navigate through different environments. Understanding how to tweak your white balance can help counteract these issues, bringing the rich, natural colors of the underwater world back to life in your shots.
The Basics of Underwater White Balance
Think of white balance as your camera’s way of telling colors apart correctly. Underwater, you’re dealing with a different ball game than on land. Here’s why:
White balance is the calibration of the camera’s color settings to ensure that whites appear white, and other colors are as true-to-life as possible. Above water, this is relatively straightforward because light behaves predictably. But when you take your camera beneath the surface, water starts playing games with light and colors.
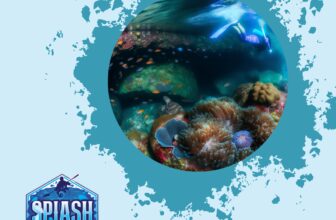
As you descend, water begins to filter out different wavelengths of light. The deeper you go, the more colors you lose. Reds and yellows are the first to disappear, which is why your deep-sea photos often come out looking blue or green. Understanding how light attenuation works helps in adjusting your camera’s white balance to restore those lost colors.
Typically, the loss of red hues becomes noticeable even at shallow depths of about 10 feet. Go deeper, and before you know it, other warm colors begin to fade as well. That’s why your photos from a dreamy dive might come out looking dull and monochromatic.
By tweaking the white balance on your camera, you essentially tell it, "Hey, compensate for the colors water is swallowing up." In technical terms, it adjusts the color temperature to add warmth back into your shots, giving those vibrant corals and colorful fish their deserved spotlight.
Adjusting White Balance: The Methods
When it comes to achieving accurate colors in underwater photography, adjusting the white balance is crucial. Here are the main methods you can use to get the best results.
Pre-Set White Balance
Most cameras come with preset white balance modes designed for various lighting conditions. These modes can be extremely helpful, especially for beginner divers.
- Underwater Mode: Many cameras have a specific "Underwater" mode that automatically adjusts the white balance for the blue and green hues found at depth.
- Benefits: This preset mode offers reasonable results without manual tweaks.
- Use Case: Ideal for situations where you may not have the time or expertise to manually adjust settings underwater.
Custom White Balance
For those who want more control over their white balance settings, custom white balance is the way to go. Although it may sound complicated, it's quite straightforward. Here's a simple step-by-step guide:
- Find a Neutral Surface: Locate something white or gray as your reference point, such as a dive slate or a white part of your diving suit.
- Access White Balance Settings: Navigate to the custom white balance setting in your camera’s menu.
- Select Your Reference: Point your camera at the neutral surface and follow the camera’s instructions to capture the reference image.
- Set the Custom White Balance: Confirm the reference image as your basis for custom white balance. Your camera will now use this setting to balance the colors in your photos.
Custom white balance allows you to adapt to varying light conditions and depths, giving your underwater photos a more natural look.
Post-Processing
Sometimes, despite your best efforts, underwater photos may still require adjustments. This is where post-processing comes in, using software like Adobe Lightroom or Photoshop. Here are a few quick tips:
- White Balance Tool: Use the white balance tool (eyedropper) to click on a neutral area of your image, allowing automatic color adjustments.
- Temperature and Tint Sliders: Manually adjust the temperature (blue to yellow) and tint (green to magenta) sliders to achieve your desired look.
- Selective Adjustments: For more precision, use selective adjustment tools to correct specific areas of the image.
Post-processing provides the flexibility to correct any remaining color imbalances, elevating your photos to the next level.
Conclusion
Understanding and adjusting the white balance using these methods can transform your underwater images, helping you accurately capture the vibrant underwater world. Happy diving and shooting!
Essential Tools for Better White Balance
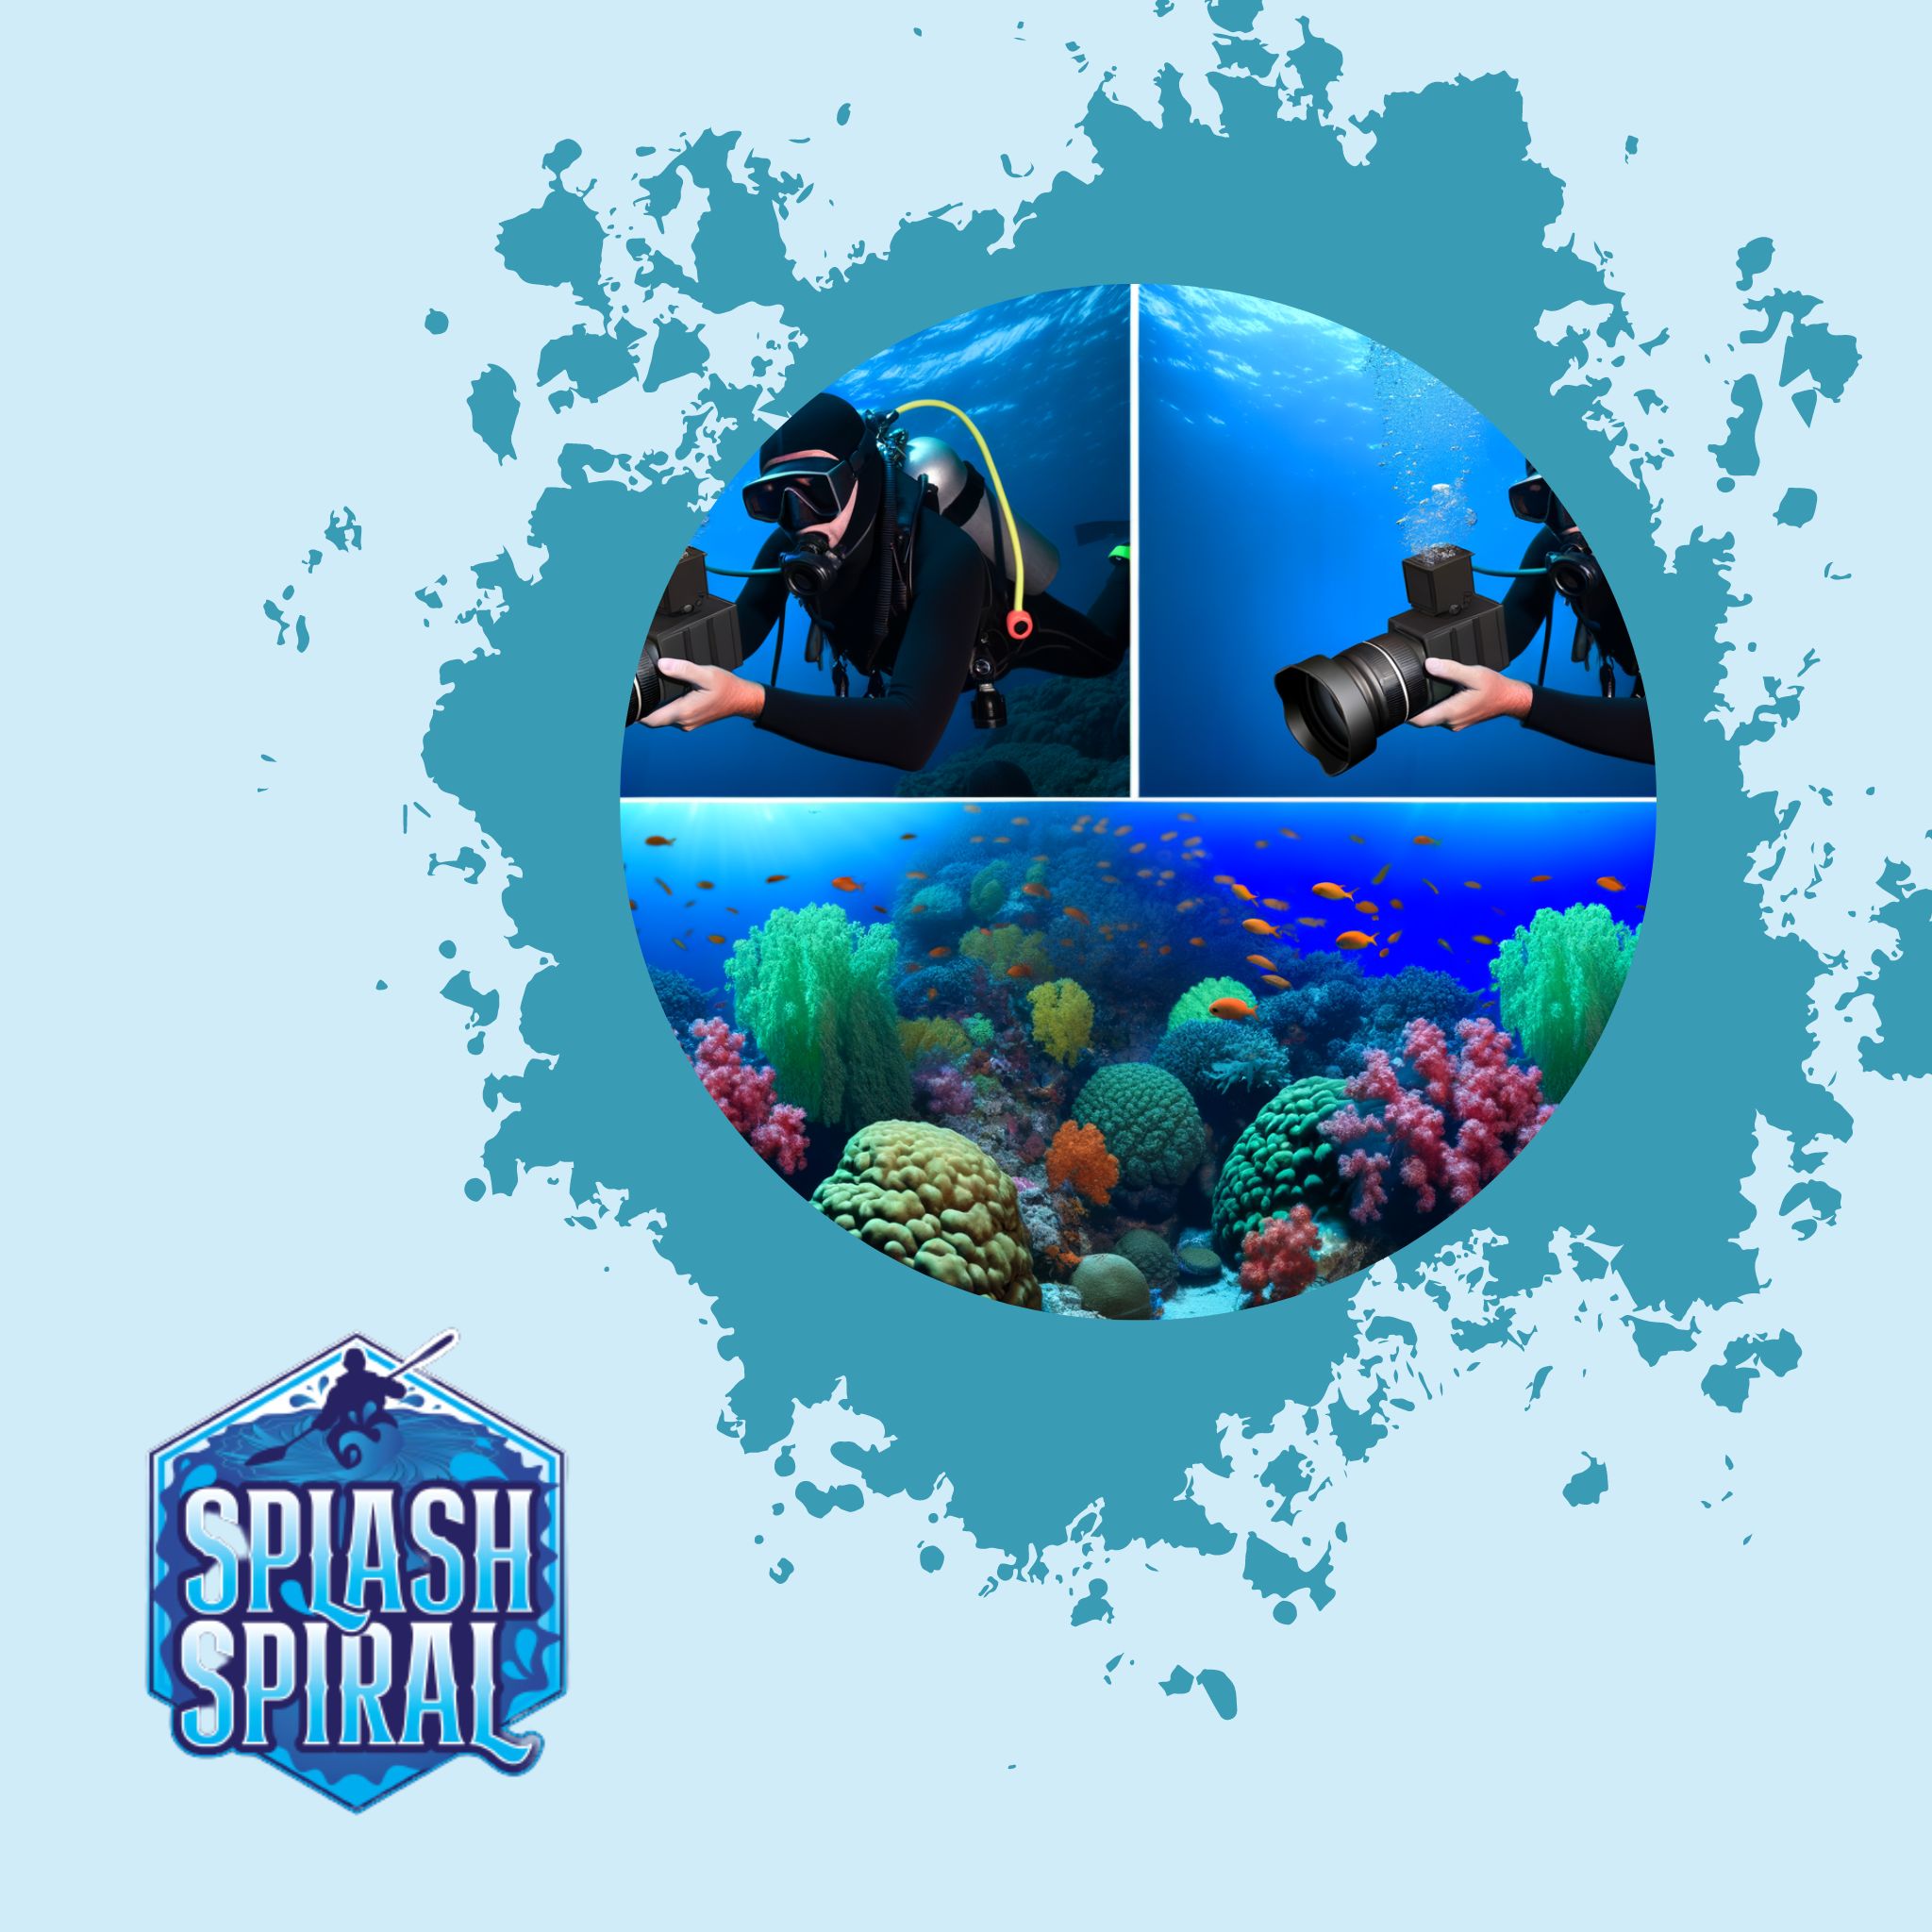
Waterproof Camera Case
First and foremost, let’s talk about keeping your equipment safe. A reliable waterproof camera case is essential. It not only guards your precious gear against water damage but also maintains pressure stability as you go deeper. A good case will ensure that your camera’s controls are still accessible, making it easy to adjust your white balance on the fly. Look for cases made from durable materials that offer a secure seal, and double-check that they're compatible with your specific camera model.
Underwater Gear
Next up, let’s delve into some underwater gear that can help you improve the quality of your shots. The right gear can make all the difference in achieving exceptional white balance. Filters, for example, are vital. Red filters are great for tropical blue waters, correcting the loss of red hues, while magenta filters are ideal for green waters found in lakes and rivers. An external strobe or video light can also provide the additional illumination needed to balance out colors, especially as you dive deeper.
Camera Protection
Underwater conditions can be harsh—not just for you but for your gear as well. Sand, salt, and other particles can cause serious damage. Invest in gear such as lens covers and port caps to keep your camera clean and dust-free when not in use. A silica gel pack inside your camera housing can help absorb any unwanted moisture, preventing fogging that can ruin your shots. Keep some fresh water handy to rinse your housing after each dive; it’s a simple yet effective way to combat salt buildup.
Diving Equipment
Maintaining neutral buoyancy is critical for clear shots. If you’re bobbing up and down, your pictures will likely end up blurry. Essential diving equipment like a good buoyancy control device (BCD) will help keep you stable underwater. Don’t forget weight belts; these help in maintaining the right level of buoyancy, preventing you from floating up or sinking too quickly. Fins that provide appropriate thrust without too much effort can also contribute to better control over your movements, giving you those picture-perfect moments.
Housing Reviews
Finally, choosing the right housing can make all the difference. When shopping for underwater housing, look for reviews focusing on durability, ease of use, and compatibility. Some reputable platforms where you can find reliable housing options include Backscatter and Bluewater Photo. They often feature comprehensive reviews and customer feedback, helping you make an informed decision. Don’t underestimate the importance of this step—proper housing is crucial for not only equipment safety but also your ability to control settings like white balance easily.
By investing in these essential tools and equipment, you’ll be well on your way to capturing vibrant, well-balanced underwater images. So gear up, dive in, and let your underwater photography adventures begin!
Real-World Applications and Techniques
Shooting in Different Environments
Underwater environments are as varied as they are captivating, and each one can present unique challenges for white balance. Here are some tips for shooting in diverse settings:
-
Coral Reefs:
- Adjust white balance: Compensate for depth and overwhelming blues.
- Highlight colors: Bring out the stunning reds and yellows of the coral.
-
Open Waters:
- Tweak settings: Maintain a natural look where light is more evenly dispersed.
- Greater depths: Adjust for diminishing light and fading colors.
Using Artificial Light
One of the most effective ways to deal with color loss underwater is to introduce artificial light sources. Here are a few techniques:
-
Strobes:
- Reintroduce colors: Help bring back red and yellow hues lost at depth.
- Aim at an angle: Avoid backscatter and unwanted specks in your images.
-
Video Lights:
- Continuous lighting: Useful for real-time color correction.
- Live preview: See how colors will appear in your final shot.
Environmental Factors
Water conditions significantly affect how you adjust your white balance settings. Consider the following:
-
Clarity:
- Murky waters: Fine-tune white balance to cut through green and brown hues.
- Clearer waters: Automatic settings may suffice, but custom white balance yields the best results.
-
Depth:
- Monochromatic images: Become more likely the deeper you go.
- Regular adjustments: Reset white balance as you change depth for accurate and vibrant colors.
By considering these factors and employing the right techniques, you'll be better equipped to capture the true beauty of the underwater world. Happy diving, and may your images be as stunning as the adventures you embark upon!
Tips from the Pros
Alright, folks—let's get some wisdom from the pros who’ve been there and dived that. Here’s the lowdown from top-tier underwater photographers who’ve mastered the white balance game:
Light is Your Best Friend
According to expert photographer Alex Mustard:
- Investing in good artificial lighting, such as strobes or video lights, is a game-changer.
- Natural light fades rapidly underwater, with red disappearing first and blue dominating the deeper you go.
- Strobes help bring back those lost colors, allowing you to control the scene's lighting to make reds and yellows pop.
Shoot RAW
Pro diver and photographer Erin Quigley swears by:
- Shooting in RAW format
- This file type retains more image data compared to JPEG, giving you greater flexibility in post-processing.
- You can tweak the white balance without degrading the image quality, bringing back those rich, natural colors you saw during your dive.
Use a White Slate
An old but gold technique suggested by Gary Burns, a seasoned underwater photographer:
- Bring a white slate or a white dive tank with you.
- Use it for setting custom white balance:
- Place it at the dive site, take a photo, and use this as the reference point for adjusting your white balance settings.
- This helps in achieving a more accurate color representation.
Consistency is Key
Linda Ianniello emphasizes:
- The importance of being consistent with your settings.
- Water conditions change rapidly, so having a consistent reference can help you adjust on the fly.
- Make a habit of taking test shots at different depths and checking the histogram to ensure nothing's blown out or lost in shadows.
Practice Makes Perfect
Pro photographer Tobias Friedrich points out:
- Underwater photography is a learning curve.
- Practice, experiment, and don’t be afraid to fail.
- Try different techniques, compare the results, and over time, you’ll develop an instinctual feel for what works best in various scenarios.
Dive Into Online Resources
For a deeper understanding, check out detailed articles on underwater photography and white balance techniques from platforms like:
These resources offer comprehensive advice from industry veterans, helping you continually improve your skills.
With these tips, you’re well on your way to mastering underwater white balance. Remember, the underwater world is a dynamic and vibrant place—your mission is to capture it in all its glory. Happy diving and happy snapping!
Popular Diving Destinations for Underwater Photography
Choosing the right location can make a world of difference in capturing stunning underwater photographs. Here's a quick rundown of some of the top spots that should be on every beginner's radar:
1. Great Barrier Reef, Australia
A no-brainer for underwater photographers, the Great Barrier Reef boasts crystal-clear waters teeming with colorful coral and diverse marine life. The vibrant ecosystem makes adjusting your white balance a rewarding experience as you bring out the incredible reds and yellows hidden beneath the surface.
2. Bonaire, Caribbean
Known for its easy shore dives and exceptional visibility, Bonaire is a fantastic destination for beginners. The island's warm waters and accessible dive sites provide ample opportunities to practice adjusting your white balance, ensuring your images reflect the true colors of the Caribbean's aquatic wonderland.
3. Raja Ampat, Indonesia
Raja Ampat is renowned for its biodiversity and pristine reefs. The varying depths and marine landscapes offer an excellent playground for experimenting with white balance settings. Dive here to capture the vibrant and diverse marine life in its full glory, where colors truly pop with the right white balance adjustments.
4. Red Sea, Egypt
The Red Sea offers some of the most breathtaking underwater scenery, from coral gardens to shipwrecks. The clear waters and abundant sunlight make it easier to achieve proper white balance, emphasizing the natural hues of your subjects and translating the underwater beauty into your shots.
5. Silfra, Iceland
For a unique twist, dive into Silfra Fissure, where you can capture the surreal underwater landscape of this freshwater dive site. The crystal-clear glacial water provides exceptional visibility, making it simpler to fine-tune your white balance and capture the ethereal quality of the fissure's blue tones.
These locations not only offer incredible diving experiences but also serve as ideal spots for honing your white balance skills. By practicing in these varied environments, you'll gain the confidence and knowledge needed to transform your underwater photography.
For a more detailed guide on these and other stunning destinations, check out Top Underwater Photography Destinations Around the World.
Exploring these top diving spots will allow you to experiment with white balance in different conditions, enhancing your skills and creating stunning images. Happy diving!
Conclusion
The Importance of White Balance
Understanding and adjusting white balance is crucial to taking your underwater photographs from just "okay" to truly stunning. By mastering this aspect, you'll be able to:
- Preserve the natural beauty of the underwater world
- Make your images pop with vibrant colors instead of dull blues and greens
Experimentation and Practice
Experimenting with different settings and tools will help you find the sweet spot that works best for your specific dive conditions. Here are a few techniques to try:
- Preset modes
- Custom white balance settings
- Post-processing techniques
The more you practice, the better you'll get at making quick adjustments that suit varying underwater environments.
Get Involved
We encourage you to dive into this fascinating aspect of underwater photography. Share your underwater photos and any additional tips you discover on your journey:
- On social platforms
- In the comments section below
Happy diving, and happy shooting!