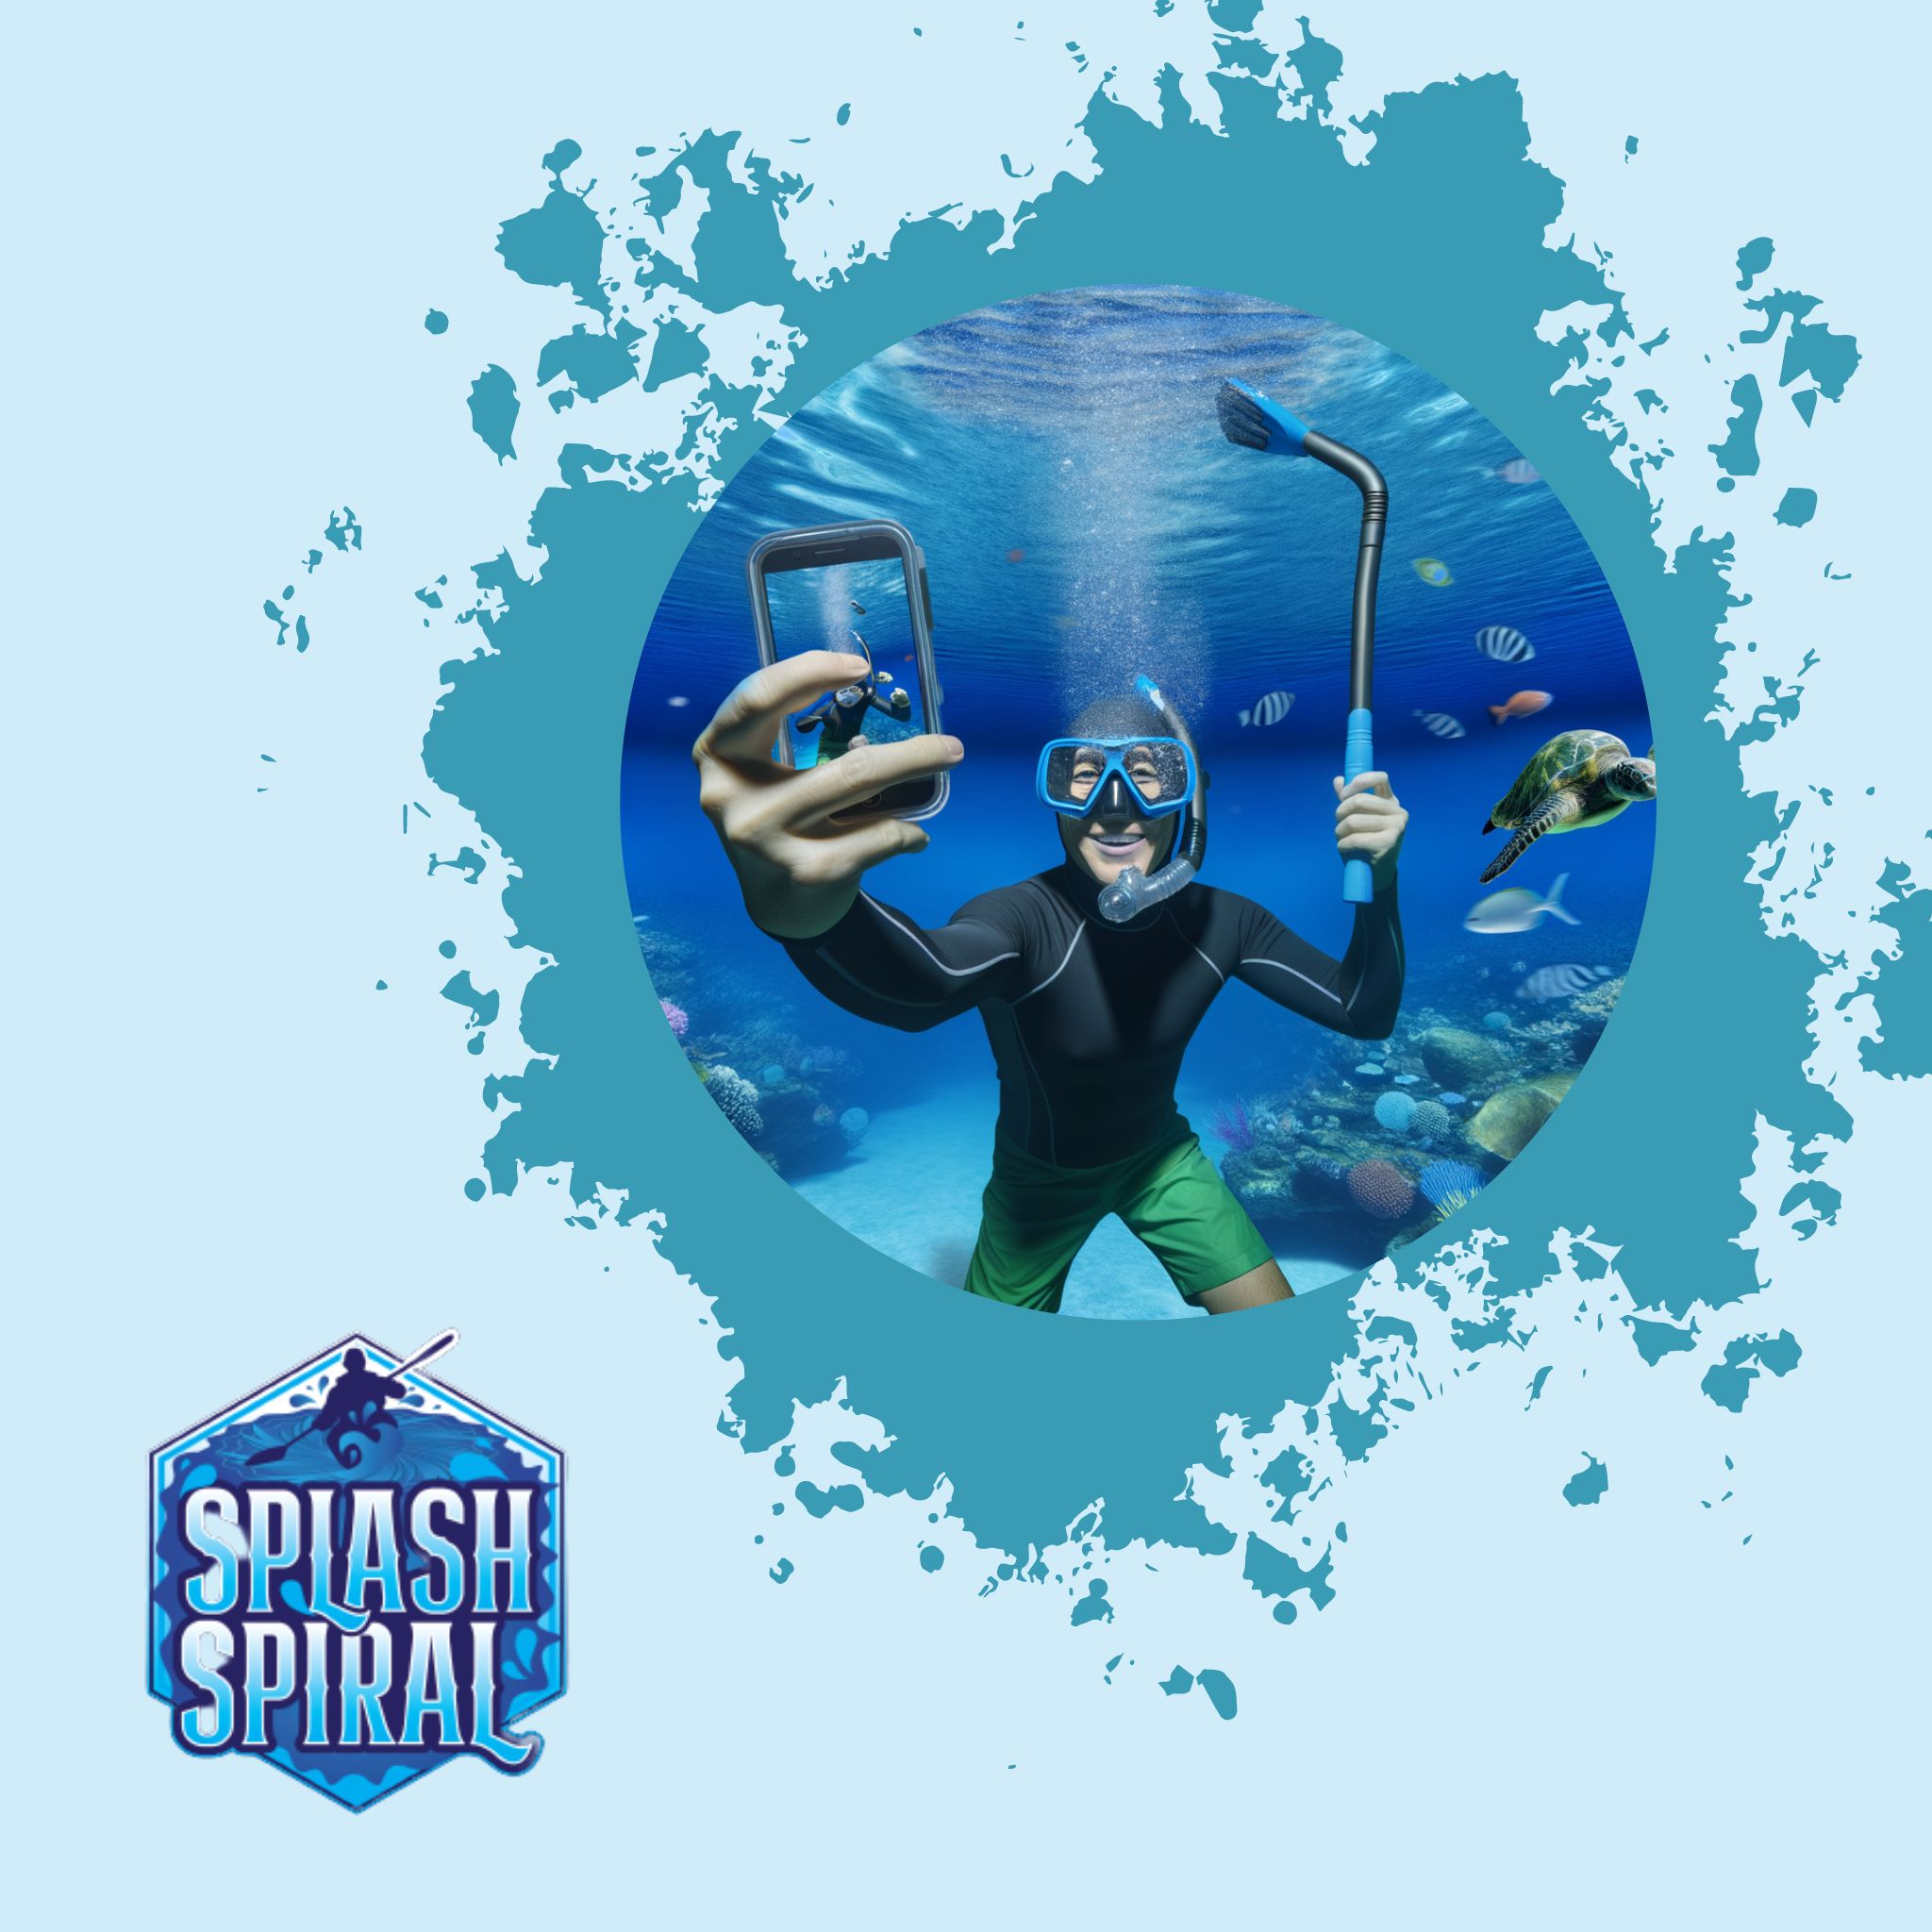
Taking selfies underwater? Sounds like a thrilling idea, right? It can be, provided you’ve got the right techniques and equipment to pull it off. This outline will guide you through the fundamental steps to snap that impeccable underwater selfie, making it look as easy as if you were on land. Whether you're a beginner underwater photographer or just curious about underwater selfie techniques, this is for you.
Introduction
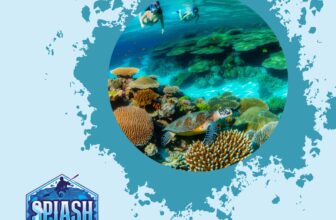
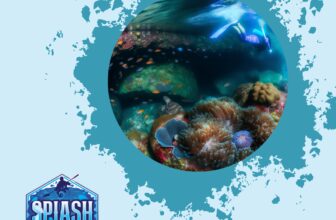
Underwater selfies—just the thought of capturing your own image amidst shimmering blue waters, surrounded by vibrant marine life, is enough to get anyone excited. Imagine the thrill of not just experiencing the underwater world but immortalizing that moment with a striking photo. Whether you're swimming through a colorful coral reef or simply floating in your backyard pool, the unique perspective and ethereal quality of underwater selfies can transform a simple photograph into a mesmerizing memory.
But let's get real: it isn’t as simple as it might seem. Unlike snapping a picture on land, underwater selfies require more than just a click of a button. The aquatic environment brings its own set of challenges, from handling water pressure and light distortion to ensuring your equipment stays dry and functional. Nails this, and you are set for some stunning shots that will have your friends asking, "How did you do that?"
The good news? You've come to the right place. This guide breaks down the essentials, from picking the proper gear to mastering key techniques, making sure you're well-prepared to take selfies that are as stellar as your snorkeling skills—or help you develop those skills if you’re completely new to underwater photography. Think of it as your underwater selfie starter kit. So, let’s dive in (pun absolutely intended) and get you geared up to capture that perfect underwater shot!
Essential Underwater Selfie Techniques <–
Let's get straight to the point: underwater selfies aren't as simple as clicking a button on land. The magic lies in mastering a few key techniques.
First, let's get familiar with the basics of underwater photography. Unlike dry photography, light behaves differently underwater, scattering and diffusing in ways that can easily turn your cool-shot plans into murky disaster. Our first task is to understand how to work with, not against, this underwater light.
Understanding Light and Angles: Water absorbs light and color, particularly the red spectrum, starting just a few feet below the surface. This absorption rate calls for specific strategies to capture clear and colorful images. Ideally, shoot when the sun is at its peak, providing optimal natural lighting. Position yourself so that the sun is behind you and illuminating your face. If you're diving deeper, consider using an underwater flash or strobe to bring back those lost colors.
Maintaining Buoyancy: Holding a steady position underwater can be as challenging as nailing the perfect yoga pose. Poor buoyancy control can lead to shaky, blurry shots. To combat this, practice hovering: use your breath control to stay balanced. Inhale to rise slightly, and exhale to sink. Mastering this will keep you stable, making it easier to compose your shot and snap away without floating out of frame.
Angles: Unlike above-water selfies, you need to think three-dimensionally. A slight tilt of your camera—upward to catch the dancing sunlight through the surface or downward to include the surrounding marine life—can dramatically alter the impact of your image. Experiment with angles to find what works best for your environment and the type of shot you want to create.
Lastly, don’t forget to enjoy the process. When you’re having fun, it shows in your selfies, even underwater. Keep practicing these core techniques, and soon, capturing that perfect underwater selfie will feel second nature.
Gear Up: The Right Equipment
Waterproof Camera Case
First things first, if you want to take your camera underwater, you need protection. A waterproof camera case is non-negotiable. These cases ensure that your camera stays dry and functional even at depth. Not all waterproof cases are created equal, though. Look for cases rated for the depth you plan to dive to, typically marked in meters. Brands like:
- SeaFrogs
- Ikelite
These brands are known for their durable and reliable casings that cater to a wide range of camera models.
Pro tip: Always test your waterproof case with a tissue inside first to ensure there are no leaks.
Underwater Gear
Before you even start snapping selfies, you need to be comfortable and mobile underwater. Here’s where you need the right underwater gear:
- Snorkels
- Fins
- Masks
They not only help you swim effortlessly but also free your hands for taking photos.
Tips for Selecting Equipment:
- Masks: Ensure it fits snugly without causing discomfort or leaks.
- Fins: Should be comfortable and provide adequate propulsion for smooth movement.
- Snorkels: For beginners, snorkels with a purge valve are recommended as they make clearing water from the tube easier.
Camera Protection
Beyond waterproof cases, there are additional ways to protect your camera:
- Silica Gel Packets: Place inside the housing to absorb any moisture that sneaks its way in, keeping your camera dry.
- Rinse After Every Dive: Use fresh water to remove salt and prevent corrosion of your camera gear.
- Regular Checks: Regularly check the O-rings and seals for any wear and tear, as these are your barriers against water entry.
By gearing up properly, not only are you setting yourself up for success, but you’re also ensuring your equipment stays in prime condition to capture stunning underwater selfies for many adventures to come.
Diving Equipment Essentials
Alright, let's dive into the essentials. First, let's talk wetsuits. They might not be the most glamorous piece of gear, but they're vital. A good wetsuit keeps you warm and comfortable, enhancing your ability to focus on that perfect shot. When choosing a wetsuit, think about the temperature and conditions of the water where you'll be diving. For warmer waters, a 3mm or shorty wetsuit will suffice. Colder environments? Opt for something thicker, like a 5mm or even a drysuit. Comfort and fit are key—too tight, and your movement is restricted; too loose, and water fills in, defeating the purpose.
Next up, weights. You'll need them to counteract the buoyancy of your wetsuit and gear. Start with a basic weight belt or integrated weight system for your buoyancy control device (BCD). Adjust the weights based on your body composition, wetsuit thickness, and the salinity of the water (saltwater requires more weight than freshwater). Practice buoyancy control in a pool or controlled environment before hitting open water.
Fins are another must-have. They allow you to glide through the water efficiently, saving energy for picture-perfect moments. Look for fins that match your diving style. Split fins are great for those who prefer a relaxed kick, while paddle fins offer more power. Fit is crucial to prevent blisters and ensure solid propulsion.
Lastly, don't underestimate the importance of a reliable dive mask. A good mask should offer a wide field of view and fit snugly without leaking. Test the fit by placing it on your face without using the strap and breathing in through your nose—if it stays put, it's a good fit.
For beginners, investing in the right gear and learning how to use it is paramount. Take the time to familiarize yourself with your equipment in a controlled setting. Regular maintenance—rinsing gear with fresh water after each dive, storing it in a cool, dry place, and performing periodic checks—will ensure your gear remains in top-notch condition.
Starting with the right equipment sets the foundation for successful underwater selfies. It might seem like a lot to take in, but remember, every professional was once a beginner. Equip yourself well, and the underwater world will become your playground.
Housing Reviews
When you're planning to take your photography skills underwater, investing in a quality housing for your camera is crucial. Why? Because this piece of equipment acts as your camera’s scuba suit, shielding it from the harsh underwater environment, and ensuring it operates smoothly. Before making a purchase, checking out housing reviews can help you make an informed decision and potentially save your precious camera from a watery demise.
Importance of Reading Housing Reviews
Reading reviews is akin to gaining insights from the underwater trenches of fellow divers and photographers. Reviews provide first-hand accounts of the product's performance, often highlighting both its strengths and weaknesses. They’ll give you an idea of potential issues, ease of use, and overall reliability. Remember, once you're underwater, you don’t want unexpected leaks or fogged lenses to ruin the moment.
Key Factors to Look for in Housing Reviews
-
Durability:
- Material: Look for housings made from high-quality materials like polycarbonate or marine-grade aluminum. Reviews often touch on how well the housing withstands the rigors of underwater use.
- Seal Quality: A good review will detail the effectiveness of the seals. Ensure the seals are reliable, as even a minor leak can spell disaster for your camera.
-
Compatibility:
- Camera Model: Not all housings fit all cameras. Reviews will often point out if specific camera models fit perfectly or if there are issues with alignment and access to buttons.
- Accessory Compatibility: Consider whether the housing allows for attaching additional accessories, like lights or stabilizers. User feedback will often mention how flexible the housing is when adding extra gear.
-
Ease of Use:
- Setup and Maintenance: Look for comments on how straightforward it is to install and maintain the housing. The last thing you want is to spend hours figuring out how to secure your camera inside the housing.
- Control Accessibility: Reviews frequently discuss how easily you can access and operate the camera controls once it’s inside the housing. Good housings should provide seamless access to essential functions without complex maneuvering.
Remember, investing time in reading reviews not only guides you to the best products but also ensures your underwater adventures are captured flawlessly, free from technical hitches. Dive into the community's shared experiences and make a well-informed decision for your underwater photography journey.
Capturing the Perfect Shot
Capturing the perfect underwater shot involves understanding the unique challenges posed by the underwater environment. By mastering lighting techniques, posing underwater, and exercising patience, you can significantly improve the quality of your underwater selfies.
Lighting Techniques
Lighting underwater differs vastly from lighting on land due to water’s tendency to absorb and scatter light, often leaving you with predominantly blue and green tones. Here’s how you can tackle this challenge effectively:
-
Harness Natural Light:
- Dive at shallower depths (surface level to ten feet) where sunlight can penetrate effectively.
- Position yourself with the sun behind you to illuminate your face and minimize shadows.
-
Use Artificial Light Sources:
- If natural light isn’t sufficient, use underwater strobes or video lights.
- These light sources can help restore the natural colors lost at greater depths, adding vibrancy to your shots.
Posing Underwater
Posing underwater might seem tricky, but a few basic techniques can make a significant difference:
-
Practice Simple Poses:
- Keep your body relaxed and your movements slow and deliberate.
-
Natural-Looking Poses:
- Avoid stiff or exaggerated poses.
- Consider relaxed, open-arm poses or playful waves for a more appealing look.
- Experiment with angles by tilting your head slightly or looking up at the camera.
-
Stay Calm:
-
The water distorts shapes and movements, and staying relaxed will help your selfies look effortless and fluid.
Timing and Patience
Perfecting the underwater selfie requires impeccable timing and patience due to water currents, visibility, and marine life that can impact your shot:
-
Trial and Error:
- Take multiple photos from slightly different angles, light settings, and poses.
-
Patience:
- Many attempts might be necessary to capture a single great shot.
- With each click, refine your technique and learn what works best.
- Don't get discouraged. Relax, take your time, and allow the water to work with you.
Ultimately, mastering underwater selfies is a balance of good lighting, relaxed posing, and a willingness to experiment. Dive in, experiment, and you’ll soon find yourself snapping spectacular underwater selfies like a pro!
Editing Your Underwater Selfies
Editing your underwater selfies can be the difference between a good shot and an amazing one. Since water can distort colors and lighting, some post-processing is usually necessary to make your photos pop. Here are some basic editing tips to enhance your underwater photos, designed to be easy for beginners.
Basic Editing Tips
-
Color Correction: Water absorbs colors, especially reds and yellows, making your photos look blue or green. Use the color correction feature in your photo editor to bring back the natural hues. Adjust the red and yellow channels to reintroduce warmth to your images.
-
Brightness and Contrast: Underwater photos can often be too dark or lack contrast due to the way light behaves underwater. Boost the brightness and contrast to make the details in your photo more vivid. Be careful not to overdo it, as too much contrast can make your image look unnatural.
-
Sharpness: Due to water movement and the physical properties of water, underwater images might come out slightly blurred. Increase the sharpness to make your photos crisper. However, keep it subtle to avoid making the image look overly processed.
-
Cropping: A well-composed photo might just need a slight crop to remove any distracting elements and improve focus on the main subject. Make sure you maintain the aspect ratio to avoid any distortion.
-
White Balance: Adjust the white balance to match the lighting conditions underwater. This will help in making the colors in your image appear more true-to-life.
Recommended Apps and Software
For Smartphones:
-
Snapseed: Android and iOS users swear by Snapseed for its powerful yet easy-to-use photo editing tools. It offers features like color correction, brightness adjustments, and selective editing.
-
Adobe Lightroom Mobile: Known for its excellent color correction and white balance adjustments, Lightroom Mobile is perfect for those looking to do more in-depth editing on their phones.
For Desktop:
-
Adobe Photoshop: The gold standard in photo editing, Photoshop offers comprehensive tools that allow for detailed adjustments. From basic corrections to advanced manipulations, Photoshop can handle it all.
-
GIMP: A free alternative to Photoshop, GIMP offers many of the same features and is great for beginners wanting to try their hand at editing without committing to a subscription.
Using these tools and tips, you’ll be able to turn your underwater shots into stunning masterpieces. Remember, the key is subtlety—enhance what’s already there without making it look unnatural. With time and practice, your editing skills will improve, and so will the quality of your underwater selfies.
Practice Makes Perfect
No one becomes a master underwater photographer overnight. The key to capturing that enviable underwater selfie lies in persistent practice. Start by familiarizing yourself with the basic techniques and equipment in a pool setting before tackling the open water. This controlled environment allows for countless trials and adjustments without the added pressure of ocean currents or low visibility.
Regular practice sessions are crucial. Set aside specific times to dive and shoot, treating each session as a learning opportunity. Experiment with different angles, poses, and lighting setups. Notice how light behaves differently at various times of the day and depths, and how your gear responds in different conditions.
Another excellent way to refine your skills is by joining underwater photography communities. Online forums and local dive clubs often provide opportunities to connect with fellow enthusiasts who can offer invaluable advice and feedback. Consider joining communities like Splash Spiral Dive Community and exploring their resources such as the Splash Spiral Diving Overview. Engaging with a supportive network can accelerate your learning curve and inspire new creative ideas.
Remember, the journey to mastering underwater selfies is as thrilling as the destination itself. So keep diving, experimenting, and sharing your experiences with others. Your perfect shot is just one dive away.
Conclusion
Capturing the perfect underwater selfie is a rewarding blend of art and science. Throughout this guide, we've highlighted the essential techniques and equipment to help you make a splash with your underwater selfies. From mastering the basics of underwater photography and lighting to gearing up with waterproof camera cases and essential diving equipment, these tips will set you on the right path.
Don't forget the importance of understanding light and angles, maintaining your buoyancy, and protecting your camera. Good gear and steady hands make all the difference. When you're ready to take the plunge, practice those simple but effective poses and stay patient—timing is everything underwater.
Editing your selfies to bring out their best features is just as crucial. Use recommended apps and software to enhance your underwater shots, but remember, nothing beats capturing a great moment in the first place.
Finally, keep practicing and immerse yourself in the underwater photography community for continuous learning and inspiration. So, gear up, dive in, and get ready to snap some amazing underwater selfies. Your underwater adventures await!