Diving into the glowing realms of bioluminescent plankton can be a mesmerizing experience. Sure, it’s challenging—but it’s worth every effort. If you’re a beginner photographer ready to dive into this glowing underwater world, this guide’s got your back. Let's get straight to the point.
Introduction
Bioluminescent plankton: tiny marine organisms that generate light through chemical reactions. When disturbed, they glow, creating surreal underwater spectacles that beg to be photographed. For those just starting out, photographing these natural wonders might seem daunting. But don't worry—preparation is key.
Being well-prepared means more than just having the right gear; it means understanding your subject and environment. By the end of this guide, you'll be well on your way to capturing the captivating glow of bioluminescent plankton. Let's get started.
Understanding Bioluminescent Plankton
Bioluminescent plankton, also known as "living lights," are microscopic organisms that emit light through a chemical reaction. This mesmerizing glow is nature's way of putting on a light show underwater. Most commonly, this glow is a defense mechanism or a way to attract mates.
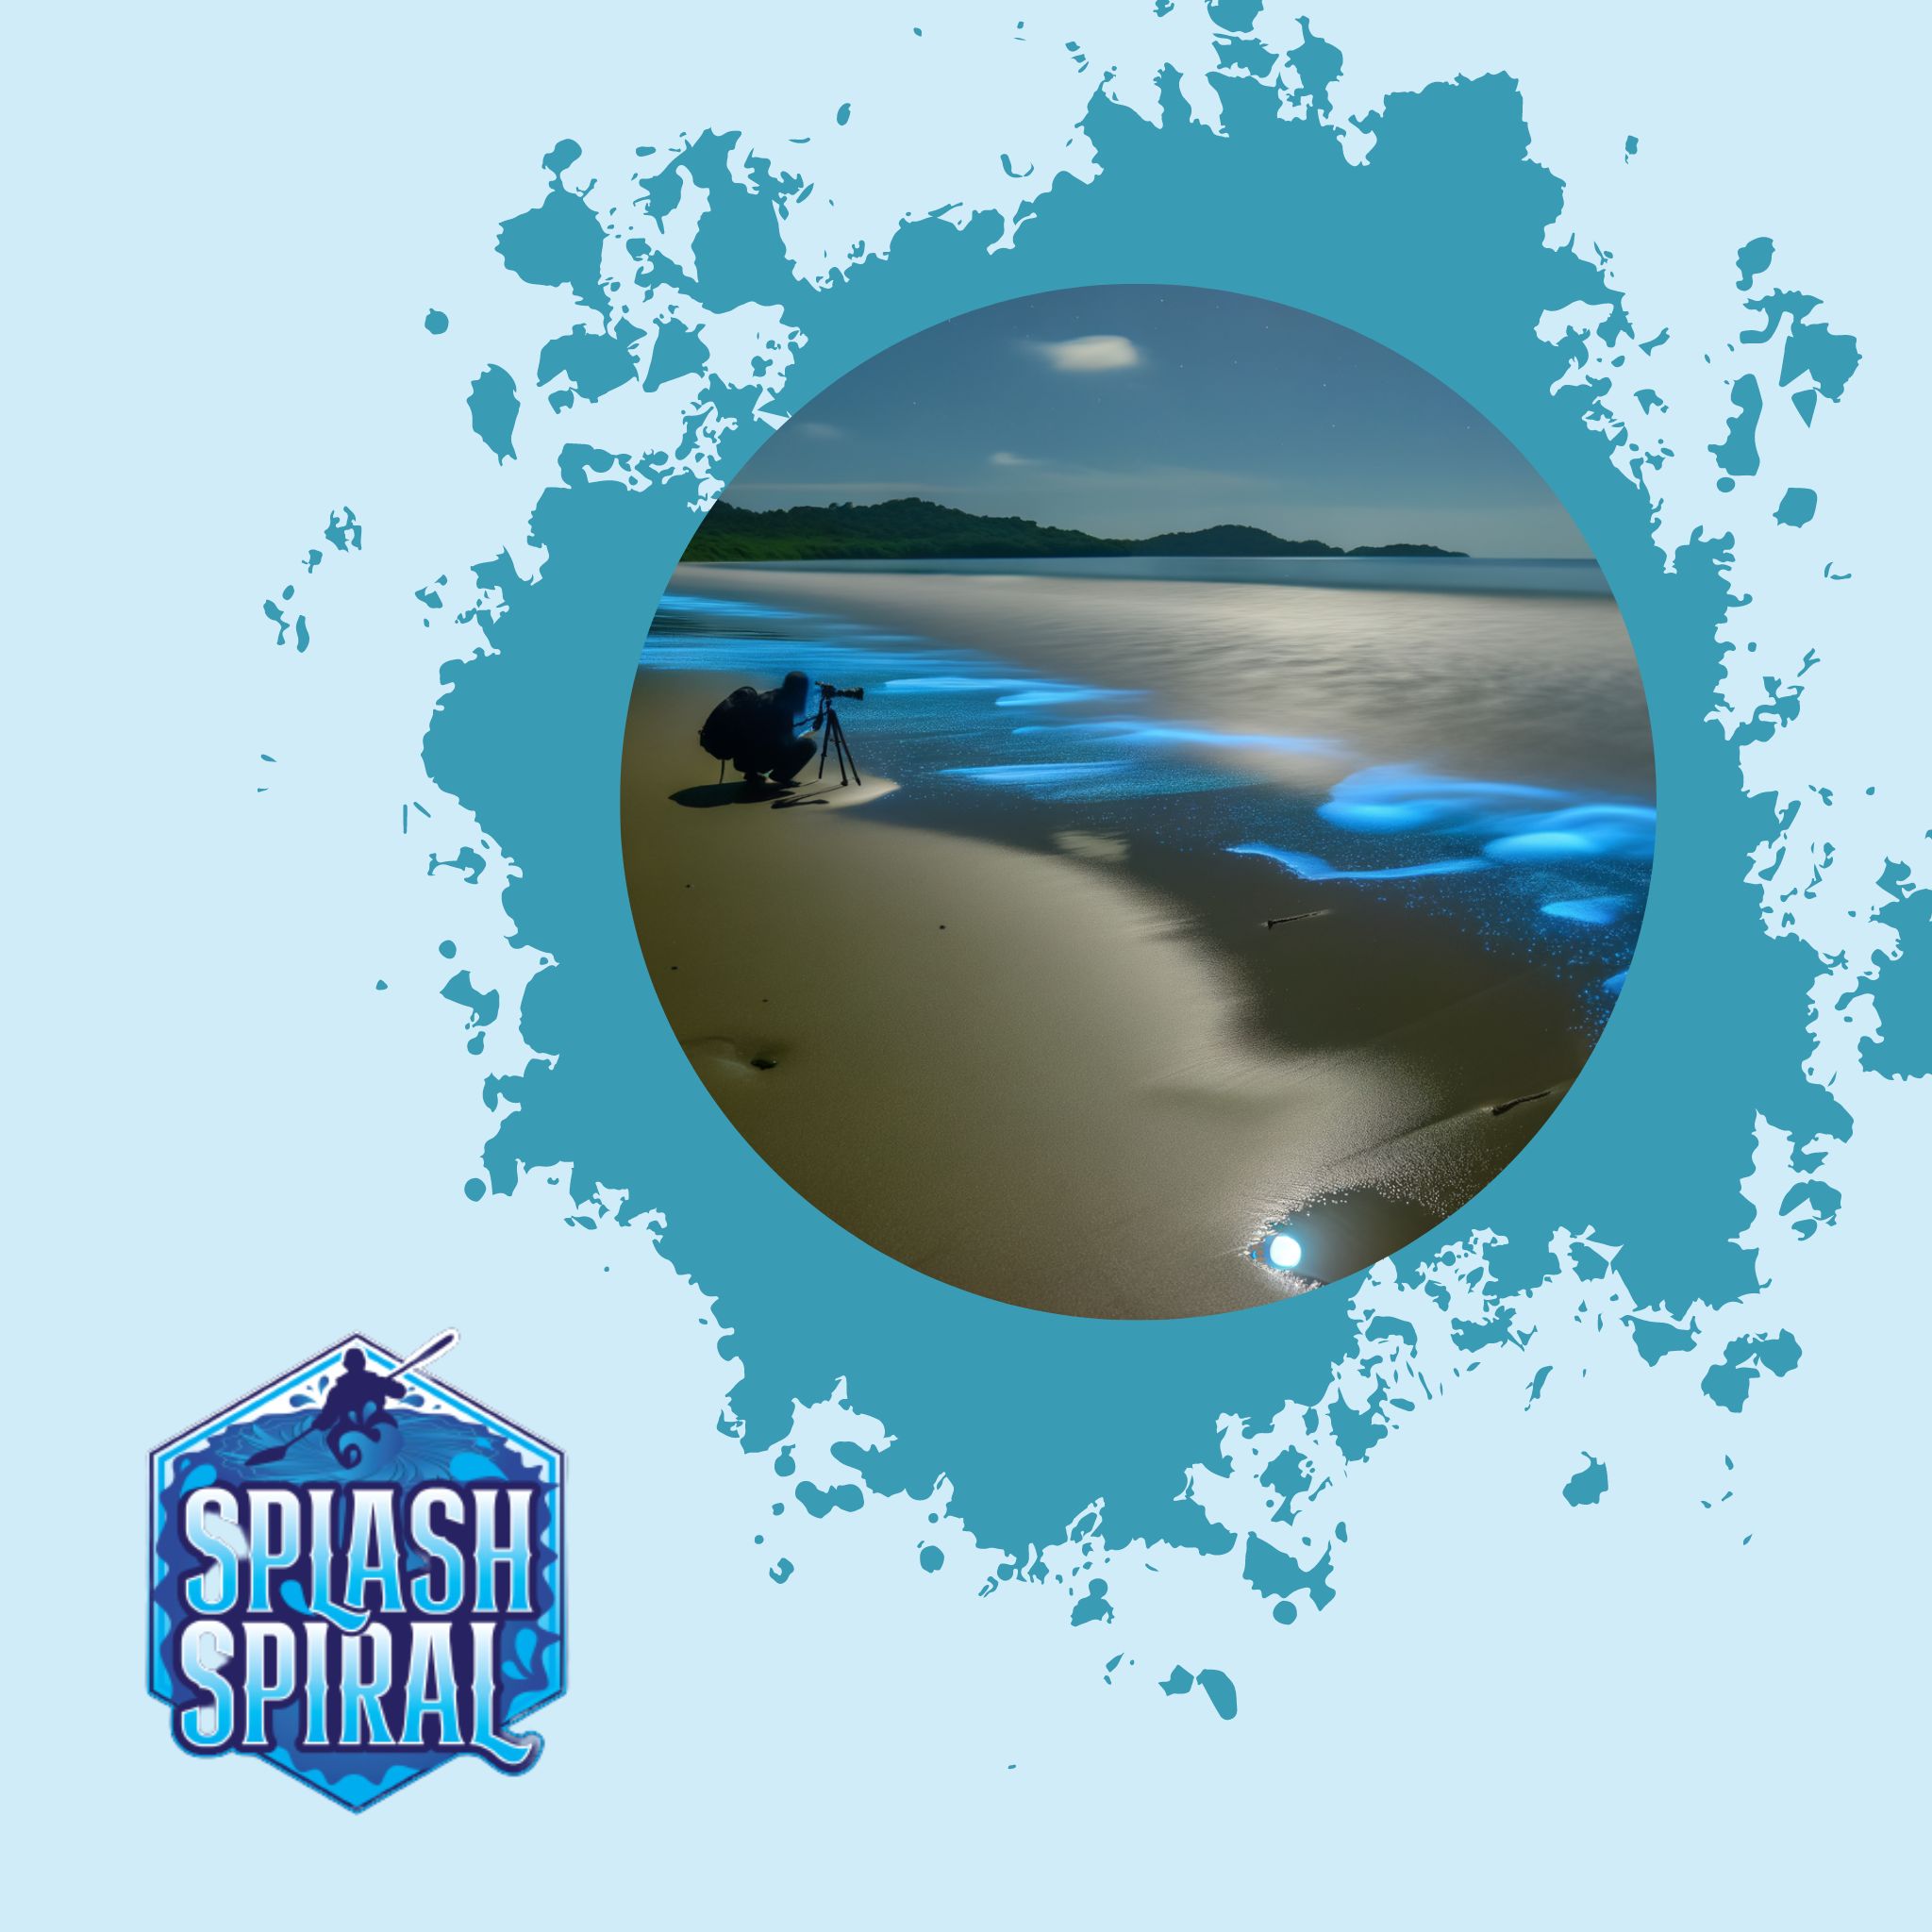
These glowing plankton are typically found in coastal areas and are most visible in warm, tropical waters. Their bioluminescence becomes vivid during the night, especially on new moon nights where the darkness accentuates their light. Key spots include bays, lagoons, and certain beaches known for their "phosphorescent waves." Timing is crucial; some locations have peak bioluminescence during specific seasons, so do a bit of research on your chosen dive spot and plan your trip accordingly.
Essential Gear for Bioluminescent Plankton Photography
Waterproof Camera Case
First things first, you need to keep your camera dry. A waterproof camera case isn't just a luxury; it's a necessity. Not only does it protect your expensive gear from water damage, but it also allows you to get up close and personal with the bioluminescent plankton. You want a case that’s reliable and sturdy, so don’t skimp. Cases from brands like Ikelite and Nauticam come highly recommended for their durability and quality assurance. Remember, the last thing you want is a leak at 30 feet below sea level.
Underwater Gear
When you’re planning to shoot glowing plankton at night, basic underwater gear just won’t cut it. For starters, a good wetsuit tailored for night diving is essential to keep you warm and agile. A sturdy pair of fins will help you navigate through the water smoothly, and let’s not forget the diving mask. You want one that offers a clear field of vision to help you spot and frame your glowing subjects. Additionally, bring along a dive light to help set up your shots, though keep it off when shooting to let the bioluminescence shine.
Camera Protection
Keeping your camera safe underwater goes beyond just a waterproof case. It’s crucial to secure your camera with a reliable wrist or neck strap. The turbulence and unexpected currents can easily knock it out of your hands, and you don’t want your precious gear drifting away. Also, consider using a soft cloth to wipe away any condensation that might build up on the lens. And always double-check the seals on your waterproof case before making the plunge.
Housing Reviews
Not all waterproof housings are created equal. Some offer better seals, more ergonomic designs, or clearer lens ports. Popular brands like Sea & Sea and Fantasea offer a range of options tailored to different camera models. For trustworthy reviews, check out websites like Underwater Photography Guide or DivePhotoGuide. These sources provide in-depth reviews and user experiences, helping you make an informed decision on which housing is best suited for your camera and diving needs.
Camera Settings
When it comes to photographing bioluminescent plankton, nailing your camera settings is crucial. The goal is to capture the faint, natural glow of these tiny organisms without drowning out their bioluminescence. Here’s a quick guide to get you started.
Aperture, ISO, and Shutter Speed
Aperture: Start with a wide aperture (low f-stop number). Something around f/2.8 to f/4 should do the trick. A wider aperture allows more light to hit the sensor, essential in the low-light conditions where bioluminescence thrives.
ISO: This is where things get a bit tricky. You’ll need a higher ISO setting to capture the glow, but not so high that it introduces too much noise. A good starting point is ISO 1600. From there, you can experiment, going up or down a notch based on the specific conditions.
Shutter Speed: Slow shutter speeds are your friend here. Setting your shutter speed to anywhere between 5 to 20 seconds will allow enough light to enter the camera to capture the glow. Remember, the slower the shutter speed, the more you’ll need to stay as still as possible to avoid blurry shots.
Adjusting Settings Based on Lighting Conditions
Underwater lighting conditions can be unpredictable. Adjust your settings as needed:
-
Too Dark: If it’s pitch black, increase the ISO to 3200, but keep an eye on noise. You can also open the aperture a little more, if possible.
-
Too Bright: On the flip side, if there’s too much ambient light (like during a full moon), you might want to decrease your ISO to 800 or lower your shutter speed to avoid overexposure.
-
Color Balance: Don’t forget to adjust your white balance to a cooler setting to truly capture the bluish-green hue of the bioluminescence.
By fine-tuning these settings to your specific underwater environment, you’ll improve your chances of capturing stunning images of bioluminescent plankton. Practice makes perfect, so don't be discouraged if you don't get it right on the first try. Dive in, experiment, and most importantly, enjoy the glowing spectacle.
Techniques for Capturing Bioluminescent Plankton
Patience and Timing
Alright, let’s be real—nature doesn’t run on your schedule. Getting that perfect shot of bioluminescent plankton requires a good chunk of patience. These tiny marine light bulbs don’t just glow on command. Plan your dive for moonless nights when their glow shines brightest. Twilight is your friend; that little window of fading natural light helps set the stage without overpowering the plankton’s glow.
Positioning and Stabilization
Picture yourself floating mid-water like an astronaut in space. You want to avoid sudden movements that could stir up silt and cloud your shot. Keep your body as still as possible; holding onto a rock or using a tripod can be game-changers. Position the camera close enough to frame the bioluminescence but far enough to keep focus sharp. Practicing buoyancy control can seriously up your game.
Lighting Management
Your first instinct might be to crank up your dive lights—don’t. Overpowering the bioluminescent glow defeats the whole purpose. Use minimal external lighting and focus on indirect light to barely illuminate the scene. Let the natural shimmer of the plankton be the primary light source for your frames. If you need to use a flash, dial it down and diffuse it to avoid harsh reflections.
Post-Processing Tips
Software Suggestions
Once you've wrestled your way back to dry land, it’s time to see what you’ve got. Post-processing is where you can make those glowing plankton shots truly pop. Here are a few software options to streamline and enhance your editing process:
-
Adobe Lightroom:
- Features: Robust tools for color correction, exposure adjustment, and fine-tuning details.
- User-friendly: Ideal for beginners.
-
Photoshop:
- Features: Powerful for in-depth edits like combining multiple exposures or removing unwanted elements.
- Learning Curve: Steeper but highly versatile.
-
Capture One:
-
Features: Exceptional color grading tools.
-
Specialization: Great for those particular about hues, especially bioluminescence.
- GIMP:
- Features: A free, open-source alternative that meets basic editing needs.
- Budget-friendly: Less intuitive but quite capable.
Basic Adjustments
When starting out with post-processing, keep it simple. Here are some fundamental tweaks to get you started:
-
Sharpness:
- Purpose: Underwater photos can be murky.
- Tip: Use the sharpening tool to bring out details but avoid overdoing it; too much sharpness can make your image look grainy.
-
Contrast:
- Purpose: Helps define the glowing plankton against the darker background.
- Tip: A slight boost usually does the trick.
-
Color Correction:
-
Purpose: The blue-green hues of bioluminescent plankton can sometimes get muted.
-
Tip: Adjust color balance to bring back the vibrant tones. Lightroom and Capture One excel here.
-
Noise Reduction:
- Purpose: Low-light conditions almost always introduce noise.
- Tip: Use noise reduction tools to smooth out the image while preserving important details.
-
Bringing Out the Glow:
- Purpose: To highlight the bioluminescence.
- Tip: Use selective adjustments like Lightroom's Adjustment Brush to increase exposure, contrast, and clarity in specific areas. This way, the plankton looks brighter without blowing out the whole image.
Final Thoughts
Remember, the goal of post-processing is to enhance what you’ve captured without creating something artificial. Start with these basics, get comfortable, and then experiment with more advanced features as you go. Happy editing!
Safety Tips for Underwater Photography
When photographing bioluminescent plankton, safety is your best friend. Remember, this isn’t just about getting the perfect shot—it's also about coming back in one piece. Here are the crucial safety tips to keep in mind while diving for those glowing wonders.
Key Safety Practices
Stay Aware of Your Surroundings: Night diving can disorient you quickly. Always keep an eye on your location and depth. Use underwater landmarks or a depth gauge to stay oriented.
Keep Buoyancy in Check: Maintaining neutral buoyancy is critical, especially when you’re focused on your camera. Practice beforehand if you’re not confident, and make small adjustments to your buoyancy compensator device (BCD) as needed.
Avoid Overexertion: It’s easy to get physically tired while diving—and stress hampers your ability to think clearly. Don’t push yourself to the point of exhaustion. Pace your movements and remember to breathe steadily.
Monitor Air Supply: This might seem obvious, but always keep a close watch on your air supply. Set a limit and make sure you stick to it. Start your ascent with a buffer to cover any unexpected delays.
Importance of Having a Diving Buddy
Communicate Frequently: Regular check-ins with your buddy can mean the difference between a smooth dive and a dangerous situation. Use clear hand signals to communicate your status and intentions.
Mutual Monitoring: Always keep an eye on each other. If something goes wrong, having a buddy by your side could be lifesaving. Ensure your buddy is also familiar with your gear; it’ll speed up troubleshooting if issues arise.
Buddy System: Follow the buddy system religiously. Never venture off alone, no matter how fascinating the glowing plankton might be. Your safety comes first.
In sum, while capturing bioluminescent plankton can be a thrilling experience, always prioritize your safety with these guidelines. Remember to enjoy the beauty of the underwater world responsibly!
Additional Resources
If you're eager to deepen your understanding and skills, checking out additional resources can be immensely beneficial. Here are some curated links to broaden your knowledge:
-
Mastering Underwater Portrait Photography
Discover advanced techniques for capturing stunning underwater portraits in this article. -
Top 5 Underwater Photography YouTube Channels
Visual learners can immerse themselves in underwater photography tips and tutorials with these recommended YouTube channels. -
Scuba Diving Basics
New to diving? Get a comprehensive introduction to scuba diving fundamentals here to ensure your underwater adventures are safe and enjoyable.
- General Diving Information
For a broader overview of diving, including gear, techniques, and safety tips, check out this page.
These resources should provide you with a well-rounded foundation and inspire you to explore the captivating world of bioluminescent plankton photography.
Conclusion
Alright, we've covered quite a bit. Let's recap. The glow of bioluminescent plankton is nothing short of magical, and capturing it requires some essential preparation and gear. From ensuring your camera is well-protected with a waterproof case, to understanding the perfect camera settings for those glowing shots, each step is crucial. Patience and timing play a big role; the best results come to those who can wait for the perfect moment. Proper positioning and using natural light effectively can make a world of difference. And don't overlook post-processing—it’s your chance to bring those photos to life.
Now, it’s your turn. Get the gear, learn the techniques, and most importantly, dive in and have fun. Experiment, make mistakes, and learn from them. The underwater world of bioluminescent plankton is a unique experience—capture it, and enjoy every moment. Happy diving and click away!