Underwater photography opens up an alien world right beneath the surface of our familiar oceans and seas. Taking it a step further by shooting in black and white adds a unique artistic angle, full of mood and mystery. But, where to start? Let's jump into some straightforward tips and techniques.
Introduction
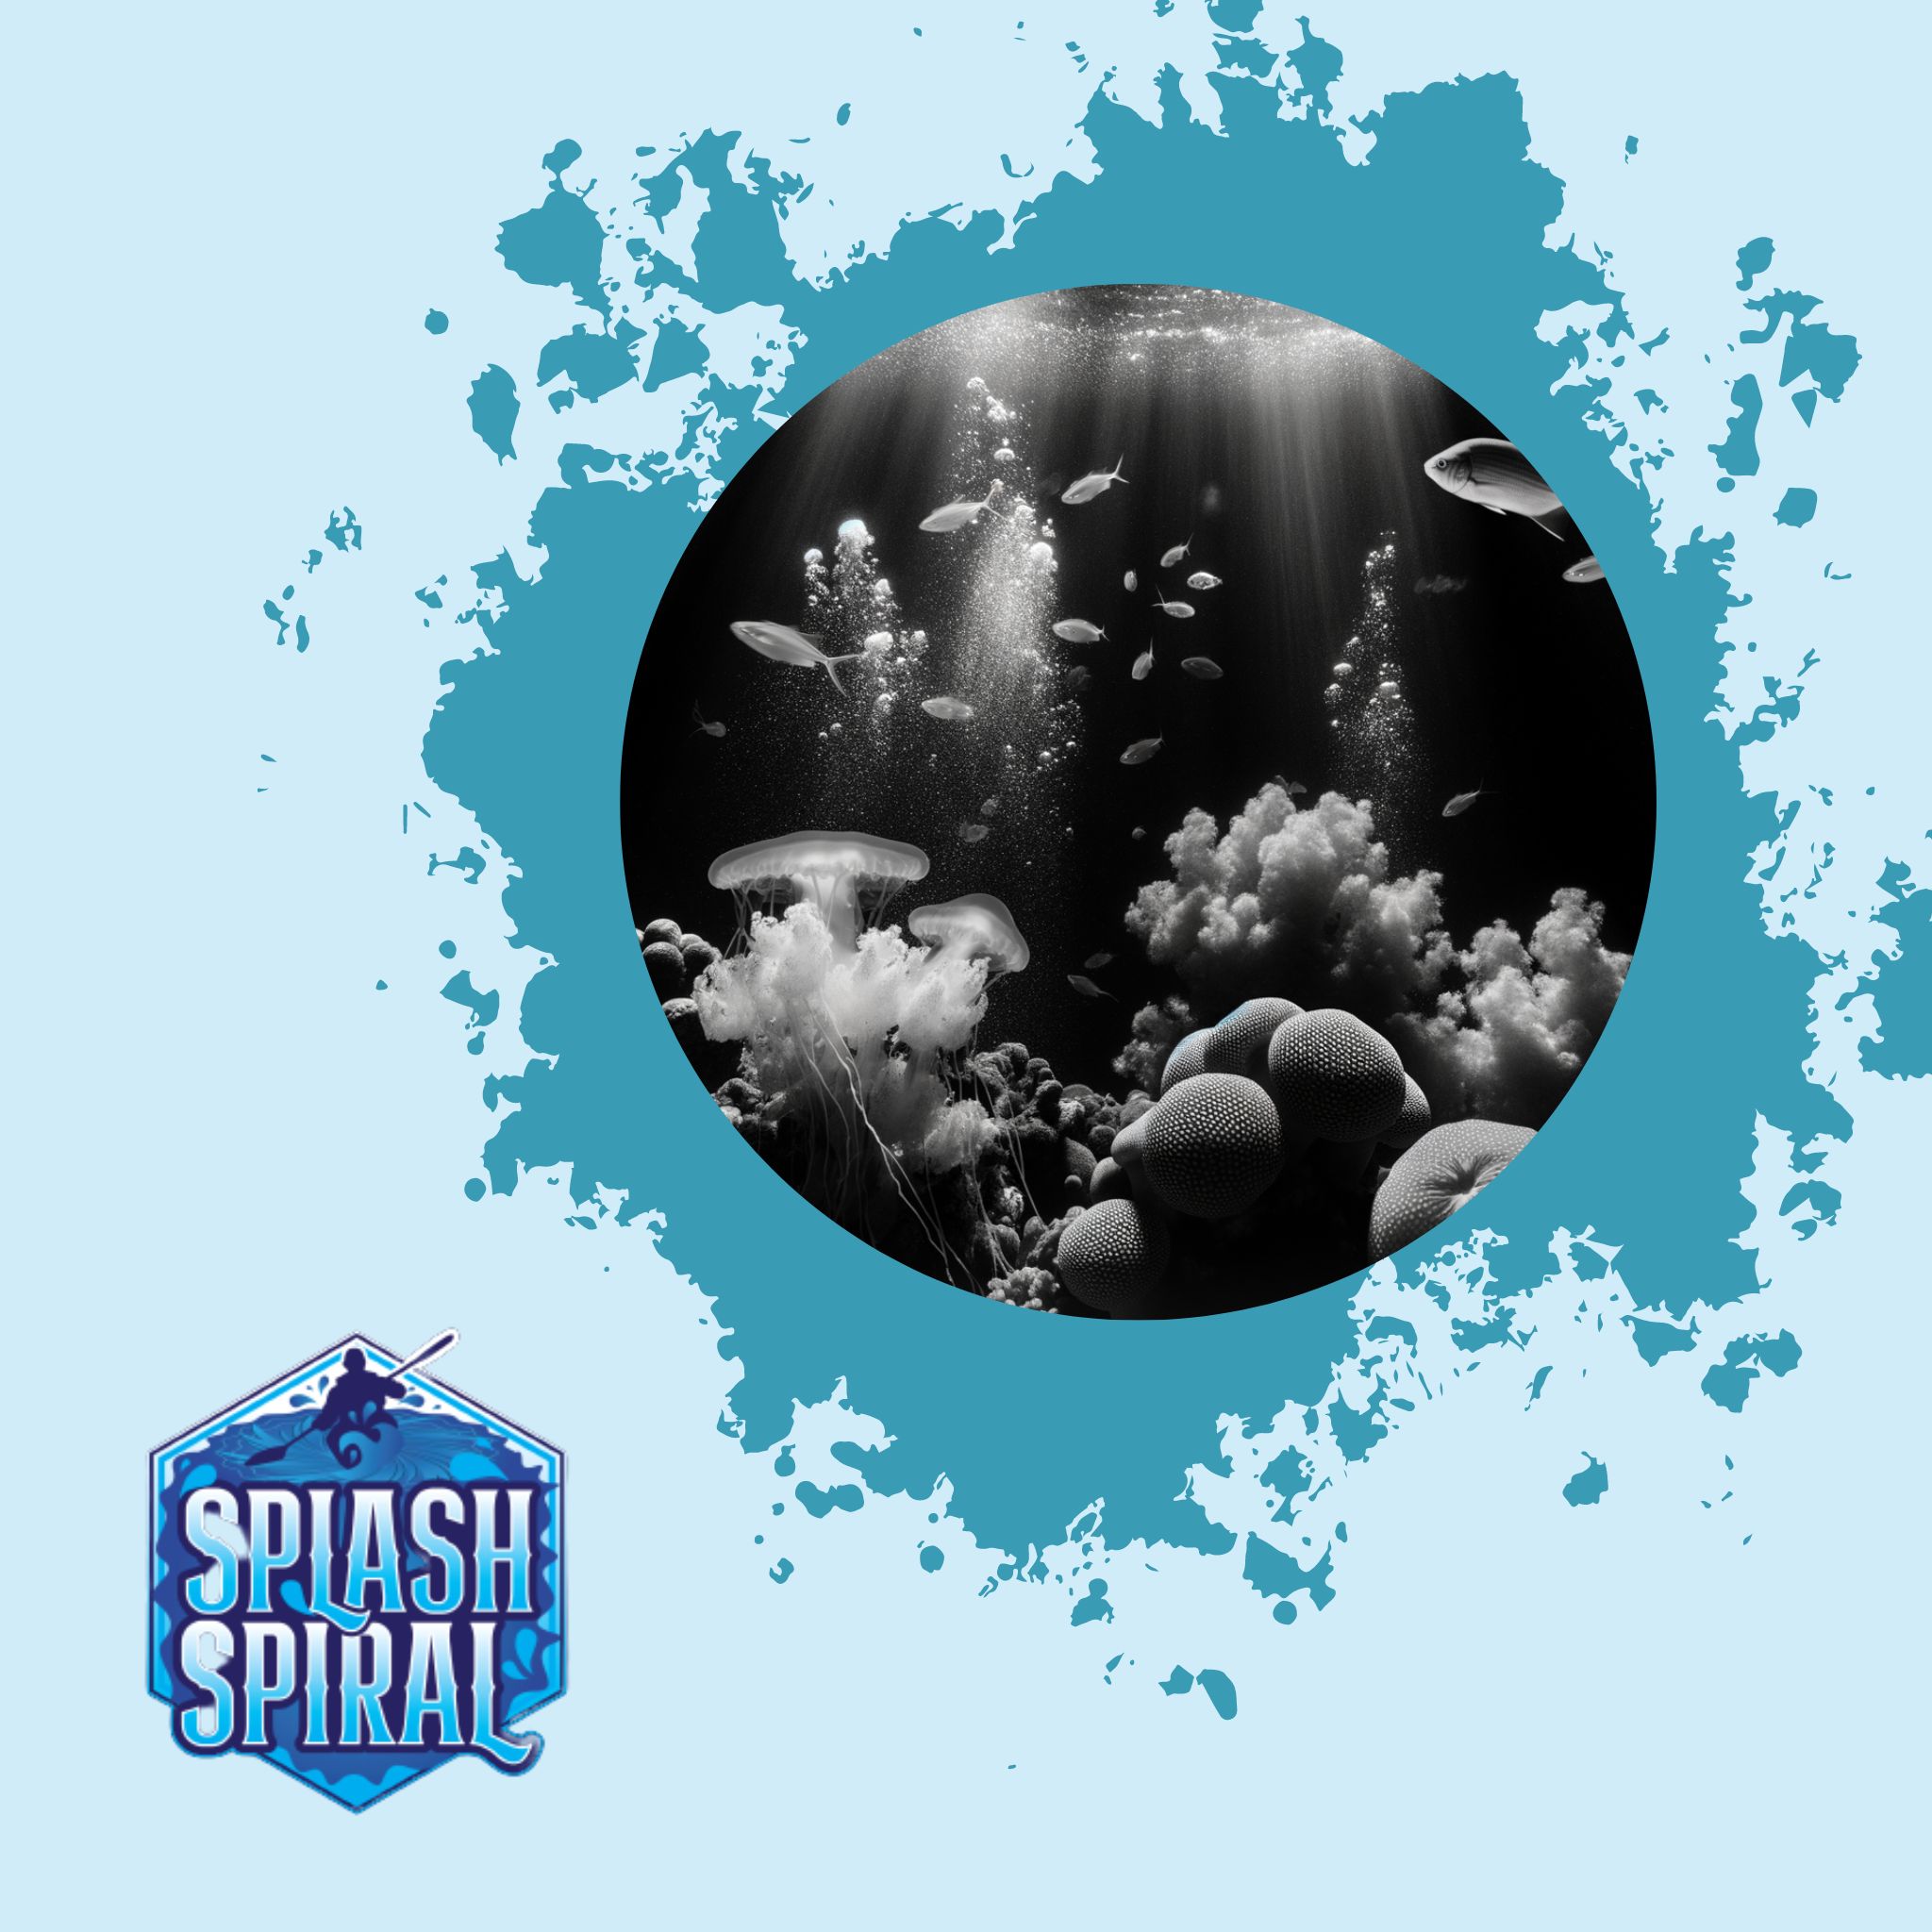
Black and white underwater photography has a way of stripping down the underwater world to its most fundamental elements – shapes, shadows, and textures. Unlike its colorful counterpart, black and white imagery removes the vibrant distractions to emphasize the mood and mystique of the underwater scene. Imagine the skeletal forms of coral, the sinuous silhouettes of fish, and the interplay of light and shadow on the ocean floor – all captured in monochrome elegance.
Why Black and White?
- Emphasis on Shapes and Textures: The lack of color allows for stronger focus on the geometric forms and textures found underwater.
- Mood and Mystique: Monochrome imagery adds a timeless and enigmatic quality to your shots.
- Simplified Composition: Without color, composition elements like light and shadow become more pronounced.
Practical Insights and Techniques
This guide aims to equip novice photographers with practical insights and techniques to dive into the realm of black and white underwater photography.
Understanding the Essence
- Shapes: Capture the distinct outlines of marine life and structures.
- Shadows: Play with light to create dramatic contrasts.
- Textures: Highlight the details in coral, sand, and fish scales.
Gear Selection
- Cameras: Choose equipment that performs well in low-light conditions.
- Lenses: Wide-angle and macro lenses are particularly effective.
- Lighting: Invest in strobe lights or underwater flashes to control illumination.
Post-Processing Tips
- Convert to Black and White: Use software like Lightroom or Photoshop to fine-tune the monochrome conversion.
- Adjust Contrast and Brightness: Enhance the interplay of light and shadow.
- Sharpening: Improve the clarity of textures and details.
Elevate Your Skills
Whether you're just starting or looking to refine your skills, this guide will help you capture striking black and white underwater photographs with confidence and creativity. Dive in, experiment, and let your artistry shine through the monochromatic lens.
Understanding Black and White Underwater Photography
What is Black and White Underwater Photography?
At its core, black and white underwater photography is about capturing the underwater world using only shades of grey. By stripping away color, you focus more on elements like contrast, textures, shapes, and light. This artistic choice can reveal an underwater scene's raw beauty and mood, often missed in vibrant color.
Why Shoot in Black and White?
Shooting in black and white underwater presents unique challenges but also offers substantial rewards. Here are a few reasons why this approach is beneficial:
-
Simplifies the Scene: Underwater environments can be chaotic, with a plethora of colors and hues competing for attention. Removing color simplifies the scene, allowing you to emphasize elements like light gradients and textures.
-
Utilizes Light Behavior: Light behaves differently underwater, absorbing and scattering at various rates. Colors are quickly lost with depth—starting with reds and oranges and descending into blues and greens. This natural loss can complicate color photography but creates a perfect canvas for black and white shots.
-
Emphasizes Contrast and Detail: By focusing on contrast and light, you can create stunningly detailed, moody images that evoke emotion and tell a story.
Yes, there is a learning curve. But once you grasp it, black and white underwater photography can make your work stand out, offering a fresh perspective on familiar aquatic subjects.
Necessary Photography Gear
Diving into black and white underwater photography begins with the right equipment. Quality gear can make the difference between a murky, indistinct shot and a breathtaking image. Here’s what you need:
-
Underwater Camera: Investing in a robust, high-resolution camera that performs well in low light is essential. Look for a model with manual controls so you can adjust settings on the fly.
-
Housing: Your camera will need a waterproof housing to protect it from the elements. Ensure it’s rated for the depths you'll be diving and has accessible controls for your camera.
-
Strobes and Flashes: Light is your best friend in underwater photography. Strobes or external flashes help illuminate the scene, enhancing contrast and bringing out textures that are critical for black and white shots.
-
Lenses: A wide-angle lens is particularly useful underwater, allowing you to capture expansive marine scenes. For close-ups, a macro lens is ideal for detailing small subjects.
-
Filters: Red filters are often used in color underwater photography but are not necessary for black and white. However, a polarizing filter can help reduce glare from water surfaces.
-
Buoyancy Control: Your gear can be heavy, affecting your buoyancy. Dive weights and buoyancy compensators help you stay stable, making it easier to compose your shots.
-
Memory Cards: High-capacity and high-speed memory cards are a must to handle the large file sizes of high-resolution images and rapid shooting.
-
Maintenance Kit: Saltwater can be brutal on your gear. A good maintenance kit with fresh water, microfiber cloths, and lens cleaner helps keep your equipment in top shape.
-
Backup Batteries: Power can drain quickly when using strobes and other accessories. Always carry backup batteries to avoid cutting your dive session short.
For more specific gear recommendations, especially if you’re diving in colder waters, check out Top Underwater Photography Gear for Cold Water Diving. With the right equipment, you’re ready to capture the otherworldly beauty beneath the waves, in compelling black and white.
Choosing the Right Camera and Settings
When it comes to underwater photography, your choice of camera can make or break your shot. For beginners, mirrorless cameras or high-end compact cameras are generally recommended. They often provide a good balance between performance and ease of use. Look for models that offer full manual control and a robust underwater housing. Popular brands like Sony, Canon, and Olympus have models particularly praised for underwater endeavors.
Camera Types
- Compact Cameras: Ideal for beginners, these cameras are lightweight, easy to handle, and reasonably priced. Models like the Canon G7X Mark II offer decent manual controls and can shoot in RAW format, enhancing your post-processing ability.
- Mirrorless Cameras: These cameras are a step up, offering interchangeable lenses, better image quality, and more customization options. Sony’s A7 series is excellent for underwater photography, providing splendid dynamic range essential for black and white shots.
- DSLRs: Best for those willing to invest more and dive deeper into the technical realms. Nikon and Canon DSLRs are renowned for their durability and image quality, although they are bulkier and require more advanced handling.
Ideal Camera Settings
Getting your settings right is crucial for capturing stunning black and white underwater images. Here’s a quick guide:
- ISO Settings: Use as low an ISO as possible to maintain image quality and reduce noise. However, given the low-light nature of underwater photography, an ISO range between 200 to 800 is often acceptable. Adjust according to the brightness of your environment.
- Shutter Speed: Balance is key here. Fast-moving subjects like fish require a higher shutter speed (1/250 and above) to avoid blurriness. However, for static subjects such as coral formations, a slower shutter speed (1/60 to 1/125) can suffice, allowing more light into the camera.
- Aperture: Wider apertures (lower f-numbers like f/2.8 to f/5.6) allow more light and help in low-light conditions, ideal for black and white imaging which thrives on light contrasts. However, be cautious of the depth of field; narrower apertures (higher f-numbers) offer greater depth of field which can be essential for getting more of your scene in focus, especially in macro shots.
Remember, the water absorbs light and colors differently compared to air. Black and white photography adds an extra layer of complexity but also opens up room for dramatic and high-contrast images. Combine thoughtful camera choices and meticulous settings to bring underwater wonders to monochrome life.
Importance of Lighting Underwater
In black and white underwater photography, lighting is a game-changer. While color photography can rely on vibrant hues to create interest, black and white demands a more nuanced approach to light and shadow. Let's break it down.
How Lighting Affects Black and White Photography
Underwater environments present unique lighting challenges. The deeper you go, the less natural light you have. This reduction in light can make your images appear flat if not handled properly. In black and white photography, you don't just want enough light; you want light that creates contrast. This contrast will help define shapes, textures, and details in your images, turning them from dull to dynamic.
- Depth and Dimension: Shadows become your friend in this setting, adding depth and dimension.
- Detail Enhancement: Light can enhance the intricate details of coral or the smooth curves of a fish, but only if it is used correctly.
Natural Lighting vs. Artificial Lighting
Natural Lighting
Natural lighting can be very effective in shallow waters where sunlight can penetrate.
- Optimal Timing: Early morning or late afternoon dives are ideal because the angle of the sun creates longer shadows and interesting patterns.
- Challenges: Algae and particles can diffuse sunlight, making it less effective the deeper you go.
- Tips: When relying on natural light, keep your ISO low and settings optimized to capture those fleeting moments when the light is just right.
Artificial Lighting
When you're diving deeper or in murkier waters, artificial lighting becomes essential.
- Strobes and Flashlights: Using strobes or underwater flashlights can help you manipulate the lighting to your advantage.
- Positioning: Position your light sources to the side or above your subject to create a dramatic effect with shadows and highlights.
- Lateral Lighting Technique: This technique brings out textures and contours, making your black and white images more compelling.
Remember, too much artificial light can wash out your subject and surroundings. Experiment to find the balance that highlights your subject without losing the subtleties that make black and white photos special.
Mastering Lighting for Stunning Photos
Mastering lighting is crucial for stunning black and white underwater photography. By understanding and manipulating natural and artificial light, you can capture images with depth, texture, and emotion. Don't be afraid to experiment and find what works best for your unique underwater adventures.
- Experimentation: Play around with different settings and positions of light sources.
- Balance: Strive to highlight your subject without losing the nuances that define black and white photography.
Using Underwater Flash and Strobe Techniques
When it comes to black and white underwater photography, mastering the use of flash and strobe can make a world of difference. Underwater flash helps to illuminate your subjects, bringing out details and textures that might otherwise be lost in the depths. Here's how to effectively use flash and strobe techniques to elevate your black and white shots.
The Role of Underwater Flash in Black and White Photography
Underwater flash serves a vital purpose: it compensates for the loss of light and color that occurs as you dive deeper. This is especially critical in black and white photography, where nuances in brightness and contrast dictate the mood and clarity of your images.
Effective Strobe Techniques for Black and White Images
Dual Strobes for Balanced Lighting
- Purpose: Using two strobes can help evenly light the subject.
- Technique: Position the strobes at a 45-degree angle on either side of the camera to reduce shadows and bring out textures and patterns effectively.
Single Strobe for Creative Shadows
- Purpose: For a more dramatic effect.
- Technique: Position the strobe to one side to create interesting shadows that add depth and intrigue to your black and white images.
Adjusting Strobe Power
- Purpose: To achieve the right illumination without overexposing your subject.
- Technique: Start with a lower power setting and gradually increase it. Aim to maintain as many gray tones as possible for a richer texture.
Diffusers and Snoots
- Purpose: To modify light quality.
- Diffuser: Softens the light to reduce harsh shadows and create smoother, more even illumination.
- Snoot: Focuses the light into a narrow beam, useful for highlighting specific elements of your frame.
Backlighting for Silhouettes
- Purpose: To add a haunting and artistic quality to your images.
- Technique: Position the strobe behind the subject to create a silhouette.
TTL Mode vs. Manual Mode
- TTL Mode: Convenient for beginners because the camera automatically adjusts the flash output.
- Manual Mode: Offers greater creative control. Set the strobe power precisely, which is crucial for black and white photography where contrast is key.
Ready to put these techniques into practice? Dive deeper into advanced strobe insights by checking out our related content on Strobe Techniques. Happy shooting!
Composition Tips for Black and White Underwater Shots
When venturing into the realm of black and white underwater photography, composition becomes even more critical. Without the allure of vibrant colors, your shots need to lean heavily on structure, form, and the play of light and shadow. Here are some tips to help you capture breathtaking black and white underwater images:
Basic Composition Tips
- Rule of Thirds: This classic rule applies underwater too. Imagine your frame divided into a 3×3 grid. Position your main subject along these lines or at their intersections to create balanced and engaging compositions.
- Leading Lines: Use natural lines, like the edge of a reef or the currents of sand, to guide the viewer’s eye through the photograph. These lines can add depth and dynamism to your shot.
- Framing: Use natural frames, such as the arch of a coral formation or a school of fish, to encapsulate your subject. This technique draws attention to the main focal point and adds a layer of complexity to your composition.
Specific Compositional Advice for Black and White Images
- Contrast: Black and white photography thrives on contrast. Look for scenes with stark differences in light and dark areas. Sunbeams piercing through the water or shadows cast by a rock formation can add dramatic contrast.
- Texture: Without color, texture becomes a significant element. Capture the roughness of coral, the smoothness of a fish's scales, or the grains of sand on the ocean floor. Textures can convey a tactile sense in your photos.
- Patterns and Shapes: Repeating patterns and geometric shapes stand out more in black and white. Whether it’s the spiral of a shell or the repetitive formation of a shoal of fish, these elements can make your composition pop.
Importance of Texture and Contrast
Texture
The underwater environment is teeming with textures. When shooting in black and white, pay attention to how these textures can tell a story. A close-up of a weathered coral or the flaky scales of a fish can provide a rich, sensory experience for the viewer.
Contrast
High-contrast scenes bring out the drama and depth of underwater seascapes. Experiment with your light sources: natural light filtering through the surface at different angles can create fascinating contrasts. Using artificial light, like strobes, can help highlight specific areas, adding a layer of intensity that’s perfect for black and white.
By focusing on these compositional elements, you'll be well on your way to capturing stunning black and white underwater images that evoke mood and mystery. Don’t be afraid to experiment—sometimes, the most unexpected shots turn out to be the most compelling. Happy diving!
Capturing Marine Life Ethically
When diving into underwater photography, especially in the captivating world of black and white, it's crucial to keep ethics at the forefront. Not only does ethical behavior ensure the safety and longevity of marine ecosystems, but it also enriches your experience by fostering a deeper respect and understanding for the creatures that make underwater realms so enchanting.
Guidelines for Ethical Underwater Photography
To capture stunning black and white images of marine life responsibly, follow these key guidelines:
-
Respect the Habitat
- Avoid touching or disturbing the underwater environment.
- Corals, for instance, are incredibly delicate and take years to grow, yet can be damaged in an instant by a careless hand or fin.
-
Maintain a Safe Distance
- Always keep a respectful distance from marine animals.
- Getting too close can stress and harm them. Use zoom lenses to get those intimate shots without intruding on their space.
-
Observe, Don’t Interfere
- Let marine life behave naturally.
- Avoid feeding, chasing, or otherwise altering their behavior. Capturing authentic moments offers more rewarding photos and keeps the ecosystem balanced.
- Be Cautious with Lighting
- Be mindful of your flash and strobes, as sudden bursts of light can alarm and disorient marine creatures.
- Use lighting judiciously and explore techniques that minimize impact.
Respectful Interaction with Marine Life
Respectful interaction goes beyond the technical aspects of photography. Engage with the underwater world as a conscious and considerate observer. Here are some additional tips:
-
Educate Yourself
- Learn about the species you’re likely to encounter.
- Understanding their behavior, feeding patterns, and habitats can help you anticipate actions and create powerful, respectful images.
-
Stay Calm and Move Slowly
- Swift movements can startle marine creatures.
- Move with deliberate slowness and control to blend into the environment.
-
Mind Your Buoyancy
-
Ensuring good buoyancy control helps prevent accidental contact with the reef or seafloor, thereby protecting both the habitat and your equipment.
Additional Resources
For further insight, check out our dedicated guide on ethical interactions with marine mammals: "Capturing Marine Mammals: Ethical Whale and Dolphin Photography".
By adhering to these ethical principles, you can create visually arresting black and white underwater photos while preserving the health and splendor of our oceans. Your images will not only stand out for their beauty but also for the respect and care they embody.
Post-Processing Black and White Images
So, you've snapped a handful of shots during your dive—now what? Post-processing is where the magic happens. It's when you fine-tune images to capture the depth and drama that black and white brings to underwater scenes. Here's a straightforward guide to get you started.
Basic Post-Processing Techniques
1. Converting to Black and White:
- Software Options: Your best bets are Adobe Lightroom, Photoshop, or Affinity Photo. These offer robust tools for black and white conversion.
- Steps: In Lightroom, simply switch to the 'Develop' module and select 'Black & White' in the 'Treatment' panel.
2. Adjusting Contrast:
- Purpose: Strong contrasts emphasize textures and shapes, bringing out submerged ridges, coral details, and marine life contours.
- How: Push the 'Contrast' slider up to enhance those light and dark areas. Be careful, though—too much contrast can blow out highlights and lose details in shadows.
3. Tweaking Brightness:
- Purpose: This controls the overall exposure of your image, vital for balancing the sometimes murky underwater light.
- How: Use the 'Exposure' slider. A slight increase brightens the image, but maintain natural look by avoiding overexposure.
4. Playing with Sharpness:
- Purpose: underwater images can get a touch grainy due to particles in the water. Sharpness adjustment can make details pop.
- How: In Lightroom, scroll to 'Detail,' then move the 'Sharpening' slider. Be gentle, as too much can introduce unwanted noise.
Useful Software and Tools
- Adobe Lightroom: Intuitive and user-friendly, perfect for beginners.
- Photoshop: Offers extensive capabilities for precise control, like layer adjustments, masking, and filters.
- Affinity Photo: A cost-effective alternative to Adobe products, with efficient tools and similar functionality.
Specific Editing Tips
1. Adjusting Tones:
- After converting to black and white, use the 'Tone Curve' to fine-tune shadows, midtones, and highlights. This can separate underwater subjects from their backgrounds beautifully.
2. Dodging and Burning:
- This method involves selectively lightening (dodging) and darkening (burning) parts of your image. It's excellent for drawing attention to focal points, such as vibrant corals or elusive marine creatures.
3. Managing Noise:
- Use the 'Noise Reduction' tool to diminish grainy textures without sacrificing essential details. It's especially helpful in low-light conditions typical of underwater environments.
4. Vignetting:
- Adding a vignette effect subtly darkens the edges of your photo. This technique nudges viewers' eyes toward the center of the image, creating an intimate, focused feel.
Take your time with post-processing—it’s not just about making corrections but amplifying the potential of your underwater shots. The goal is to reflect not just what you saw, but what you felt when confronted with the silent elegance of the deep.
Ready to take your underwater black and white photography to the next level? Dive into post-processing and watch your images transform from good to breathtaking. Happy editing!
Professional Tips from Underwater Photographers
When it comes to mastering black and white underwater photography, there's no substitute for learning from those who've spent countless hours beneath the waves. Here are some invaluable tips from professional underwater photographers that will help you elevate your work:
1. Embrace Contrast:
“Underwater scenes are inherently blue and green, so when you shoot in black and white, you're not just converting colors but focusing on tonal differences,” says Ana Castro, an award-winning underwater photographer. “Look for subjects and scenes that naturally exhibit strong contrasts. The interplay of light and shadows around coral reefs, or the stark lines of shipwrecks, can create stunning images.”
2. Get Close and Personal:
“Water reduces clarity and can dilute contrast, making it harder to capture sharp images,” advises marine biologist and photographer, Luke Williams. “The closer you are to your subject, the less water there is between you and it, which means better clarity and more detail. This is especially crucial for black and white photography, where detail and texture play significant roles.”
3. Master the Power of Adjusting Your Lighting:
“I can't stress enough how important lighting is,” notes Jessie Ortiz, a professional underwater photographer with a knack for dramatic black and white images. “Use strobes to bring out the finer details and textures in your subjects. Experiment with side lighting to create interesting shadows and dimensions that can make your black and white photos pop.”
4. Focus on Patterns and Textures:
“One of the key aspects of compelling black and white photos is the emphasis on patterns and textures,” shares Coraline Devere, who's renowned for her underwater photography. “Look for repeating patterns in coral formations or the intricate textures of marine life. These elements stand out more in black and white, drawing the viewer into the photograph.”
5. Slow Down and Observe:
"Patience is as important as technical skill,” says veteran photographer David Nakamura. “Spend ample time observing your environment. Notice how light plays across different surfaces and how marine life moves. Sometimes, waiting for the right moment can turn a good shot into an extraordinary image.”
By integrating these professional insights into your underwater photography practice, you’ll be better equipped to capture breathtaking black and white images. Remember, it's not just about the technical aspects but also about honing your observational skills and understanding the unique underwater environment. Experiment, practice, and most importantly, enjoy the dive.
Conclusion
To wrap up, we've navigated through some key techniques and insights that can help you capture stunning black and white underwater images.
Key Points Covered:
- Challenges and Rewards: Understanding the unique challenges and rewards of black and white underwater photography.
- Gear and Settings: Mastering the right gear, camera settings, and lighting to improve your shots.
Practice and Experimentation
Remember, the real magic happens when you practice and experiment:
- Every dive offers a new opportunity to refine your skills.
- Test different compositions.
- Learn the nuances of underwater lighting.
Ethical Considerations
Ethical considerations also play a significant role:
- Always strive to capture the beauty of marine life without causing harm.
Final Thoughts
So, gear up and dive into the enchanting world of black and white underwater photography. The ocean is a vast, enigmatic canvas awaiting your artistic touch. For more in-depth exploration of underwater photography, check out our comprehensive resources:
Happy diving and shooting!