Dipping into the clear cenotes of the Yucatán Peninsula, an incredible world of underwater beauty awaits. Capturing that beauty through photography, however, requires more than just a simple point-and-shoot. Whether you’re a beginner diver or looking to start underwater photography, these straightforward techniques will help you take stunning shots in cenotes.
Introduction
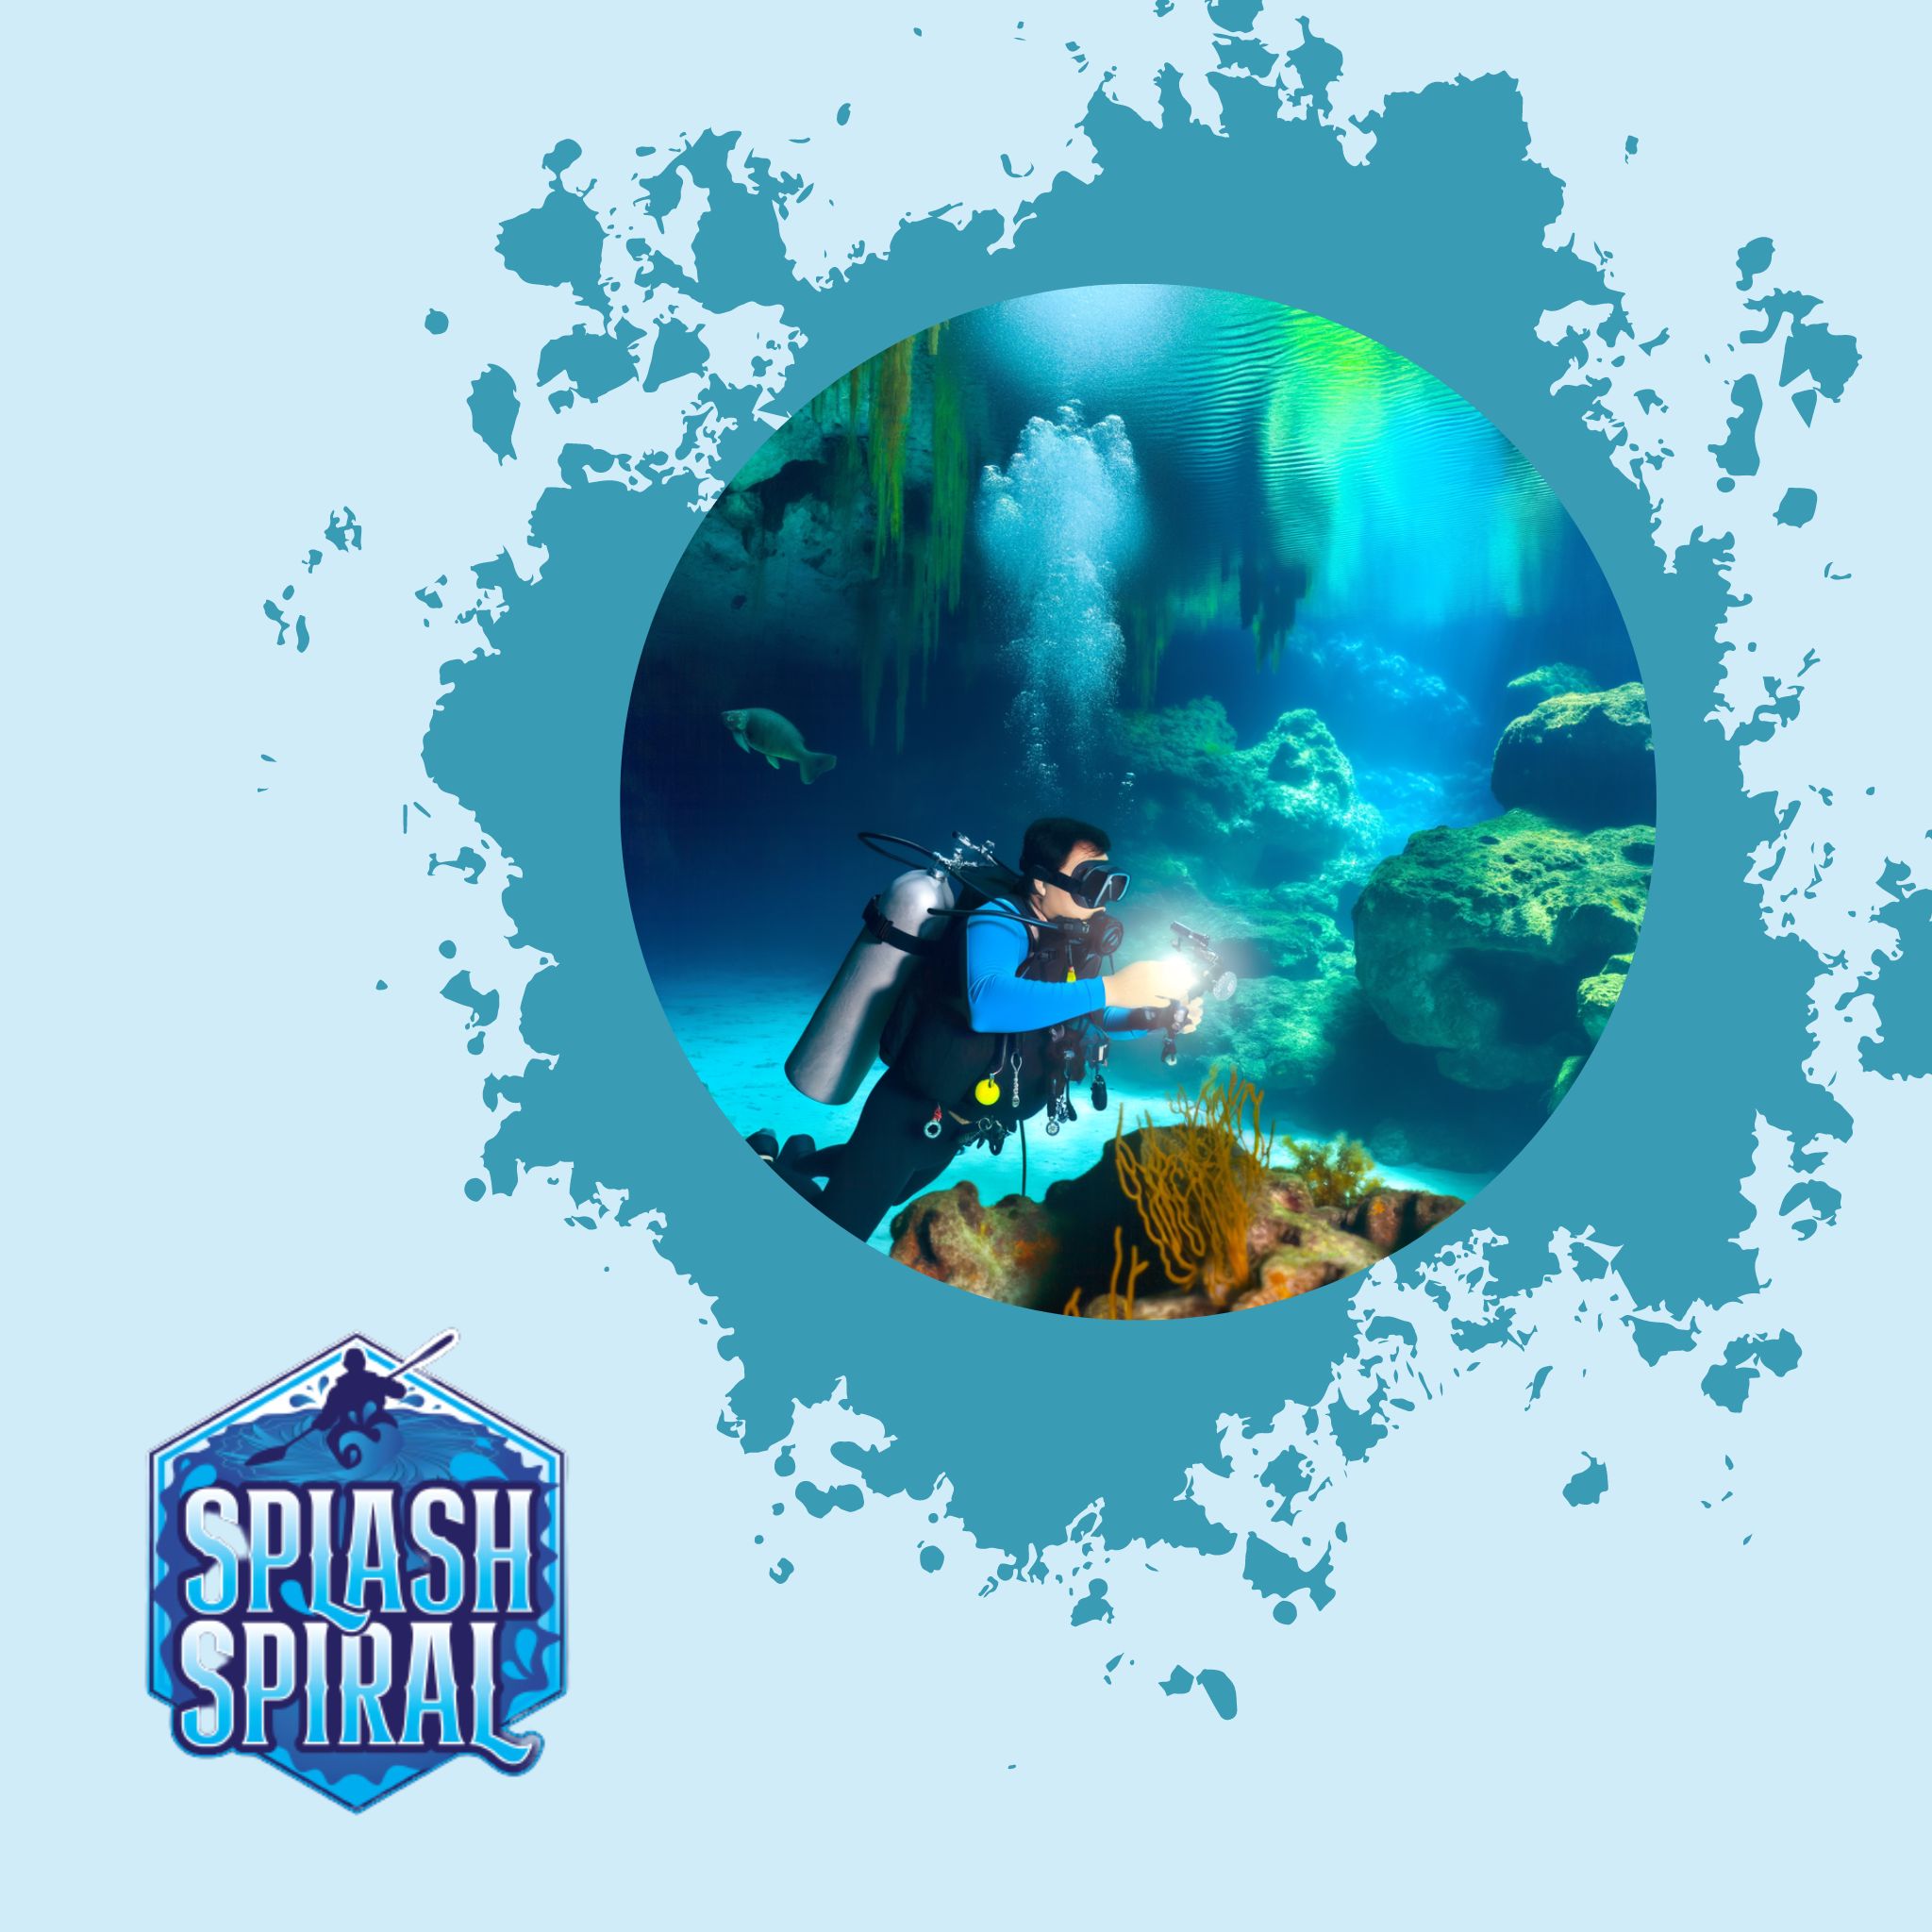
Cenotes are natural freshwater sinkholes found predominantly in the Yucatán Peninsula of Mexico. Formed through the collapse of limestone bedrock, they reveal hidden underwater chambers that boast crystal-clear waters and intricate rock formations. These unique features make cenotes a dream location for underwater photography. However, capturing their stunning beauty requires more than just luck and a waterproof camera.
Proper equipment and techniques are paramount to getting those jaw-dropping shots. Underwater photography in cenotes presents unique challenges, including lower light levels and potential buoyancy issues. Equipping yourself with the right gear and knowledge is essential for capturing the captivating essence of these underwater havens. So, gear up and dive into these crystal blue waters armed with the techniques that will make your photos as breathtaking as the cenotes themselves.
Essential Underwater Gear for Cenote Photography
Heading into cenotes armed with the right gear can make the difference between a decent photo and an awe-inspiring shot. Let’s dive into the essential pieces of equipment you’ll need to capture the stunning underwater world of cenotes.
Waterproof Camera Case
A waterproof camera case isn't just a nice-to-have; it’s a crucial piece of gear for underwater photography. When choosing a case, prioritize one that’s both reliable and compatible with your camera.
- Depth Rating: Ensure the case can handle the depths you plan to dive. Some cenotes can go quite deep, so opt for a case rated to at least 100 feet if you’re planning on exploring deeper areas.
- Fit and Compatibility: Double-check that the case is made specifically for your camera model. A snug fit is essential to keep water out and ensure your camera’s functions remain accessible.
- Durability and Material: Look for cases made from sturdy materials like polycarbonate. The thickness of the case also matters; heavier-duty casings offer better protection but may add bulk.
Underwater Gear and Diving Equipment
Besides your camera, the right diving gear can significantly enhance your ability to capture great photos in cenotes.
- Fins: A good pair of fins will help you move effortlessly through the water, allowing you to get to your shot more efficiently. Consider fins designed for diving rather than snorkeling for better control and maneuverability.
- Masks: A high-quality mask improves visibility and comfort. Look for one with a low volume to reduce buoyancy and a wide field of view to help you spot those perfect photo opportunities.
- Snorkels: While a snorkel can help save air while you’re lining up a shot at the surface, it might get in the way during deeper dives. It’s often a personal choice, so test out what feels best for you.
- Wetsuits: Cenotes can be chilly, so a wetsuit is essential for maintaining body temperature. A well-fitted wetsuit not only keeps you warm but also aids in buoyancy control, a key factor for stable photography.
Having the right gear is the foundation of successful underwater photography in cenotes. These essentials will help ensure you’re comfortable, safe, and ready to capture the mesmerizing beauty that lies beneath the surface.
Camera Protection
Ensuring your camera is well-protected and ready before diving into the mesmerizing world of cenotes is crucial.
Proper Maintenance and Preparation
Regularly checking your camera housing seals is essential. A faulty seal can lead to water damage, rendering your expensive gear useless. Here's a checklist to follow:
- Seal Inspections: Regularly check the seals on your camera housing.
- Anti-Fog Solution: Apply an anti-fog solution to the housing lens to keep your shots crystal clear.
- Maintenance Steps: Follow these small maintenance steps to save yourself a lot of hassle underwater.
Fog can be a nuisance and ruin a perfect photo opportunity. Prepping your camera with these simple maintenance steps can save you a lot of trouble.
Housing Reviews
Choosing the right camera housing is another critical decision. Consider the following acclaimed brands:
-
Nauticam:
- Renowned for high-quality builds
- Ease of use
- Can be on the pricier side
-
Ikelite:
- Praised for affordability
- Excellent customer service
- Some users report bulk issues with models
Reading user reviews and considering your specific needs can help you pick the housing that’s right for you.
Techniques for Successful Cenote Underwater Photography
Lighting
One of the first things you'll notice about cenotes is their unique lighting conditions. The natural light filtering through openings in the cave or sinkhole can be both a blessing and a curse. To deal with this, you'll need to bring in some extra lighting of your own. External strobes or underwater lights are essential. Place them strategically to reduce harsh shadows and bring out the vibrant colors. Aim your strobes at a 45-degree angle to minimize backscatter — those pesky particles that ruin your shots. Experiment with the positioning to find the sweet spot that highlights your subject perfectly.
Composition
Good composition can turn a snapshot into a masterpiece. When photographing in cenotes, think about the rule of thirds to balance your images. Try to include leading lines, like rays of light or natural formations, to guide the viewer's eye through the photo. Don't forget to frame your shots; use the natural limestone edges or tree roots to create a border around your subject. Cenotes are full of unique features — use them creatively to enhance your compositions.
Settings and Adjustments
Your camera settings can make or break your underwater photos. Start by shooting in RAW format; it gives you more flexibility for post-processing. Given the varying light conditions in cenotes, manual settings are your best friend. Start with a low ISO (100-400) to reduce noise, and adjust your aperture (f/8 is a good starting point) to control depth of field. Shutter speed should be fast enough to freeze your subject — around 1/125 or faster. If the light is low, use your strobes to compensate rather than increasing the ISO.
Managing Buoyancy
Stable shots require a stable diver. Controlling your buoyancy is crucial not just for your safety but also for the quality of your photos. Practice neutral buoyancy so you can hover without disturbing the environment or stirring up sediment. This takes time and practice, but it's essential for clear shots. If you find yourself struggling, consider using a stabilizing stick or pole for camera support. Remember, the more stable you are, the sharper your images will be. Dive often, practice your buoyancy skills, and your photography will improve dramatically.
Practical Tips for Beginners
Planning and Research
Before you even set foot in the water, doing your homework can make a huge difference. Start by researching the specific cenote you plan to visit—each one has its own unique characteristics, conditions, and regulations. Websites, forums, and social media groups can be fantastic resources for gathering firsthand experiences and tips from other divers.
Be sure to check local regulations and secure any necessary permissions or permits ahead of time. Some cenotes may have restrictions on diving or underwater photography, and you don’t want to find out about them the hard way. Planning your dive times can also be crucial; for example, certain cenotes may offer better lighting conditions at different times of the day due to how sunlight penetrates the water.
Safety First
When it comes to diving and underwater photography, safety should always be at the forefront of your mind. The first rule of thumb is never to dive alone—always have a buddy with you. If you’re new to diving, consider hiring a local guide who knows the cenote well. This can provide an extra layer of safety and valuable local insights.
Know your own limits and respect them. Overestimating your diving skills can lead to dangerous situations, especially in unfamiliar environments like cenotes, where underwater caves and tight passages can pose additional risks. Make sure to keep track of your air supply and stick to a conservative dive plan.
Finally, always carry a reliable underwater flashlight, even if you don’t plan to do cave diving. Cenotes can have dark areas that conceal hazards or simply make navigation tricky. A good light source will help you see and, importantly, be seen by others.
Putting a focus on planning and safety can ensure that your underwater photography adventures in cenotes are memorable for all the right reasons. Prepare well, know your gear, respect the environment, and you’re well on your way to capturing some stunning underwater shots.
Conclusion
Recap the key techniques and tips for successful cenote underwater photography: use high-quality waterproof gear, manage your lighting effectively, and hone your composition skills to capture the unique beauty of cenotes. Don't forget the essential step of mastering buoyancy for steadier shots and safety as a top priority. Remember, research your location and dive prepared with the right equipment and knowledge.
Encourage readers to get out there and start practicing: each dive offers a new opportunity to improve and capture the mesmerizing underwater world. The perfect shot is often just a dive away, so don your gear and dive in! You'll not only come away with stunning photos but unforgettable experiences. For a deeper dive into underwater photography, check out the resources at Splash Spiral.
Happy diving and shooting—adventure awaits beneath the surface!