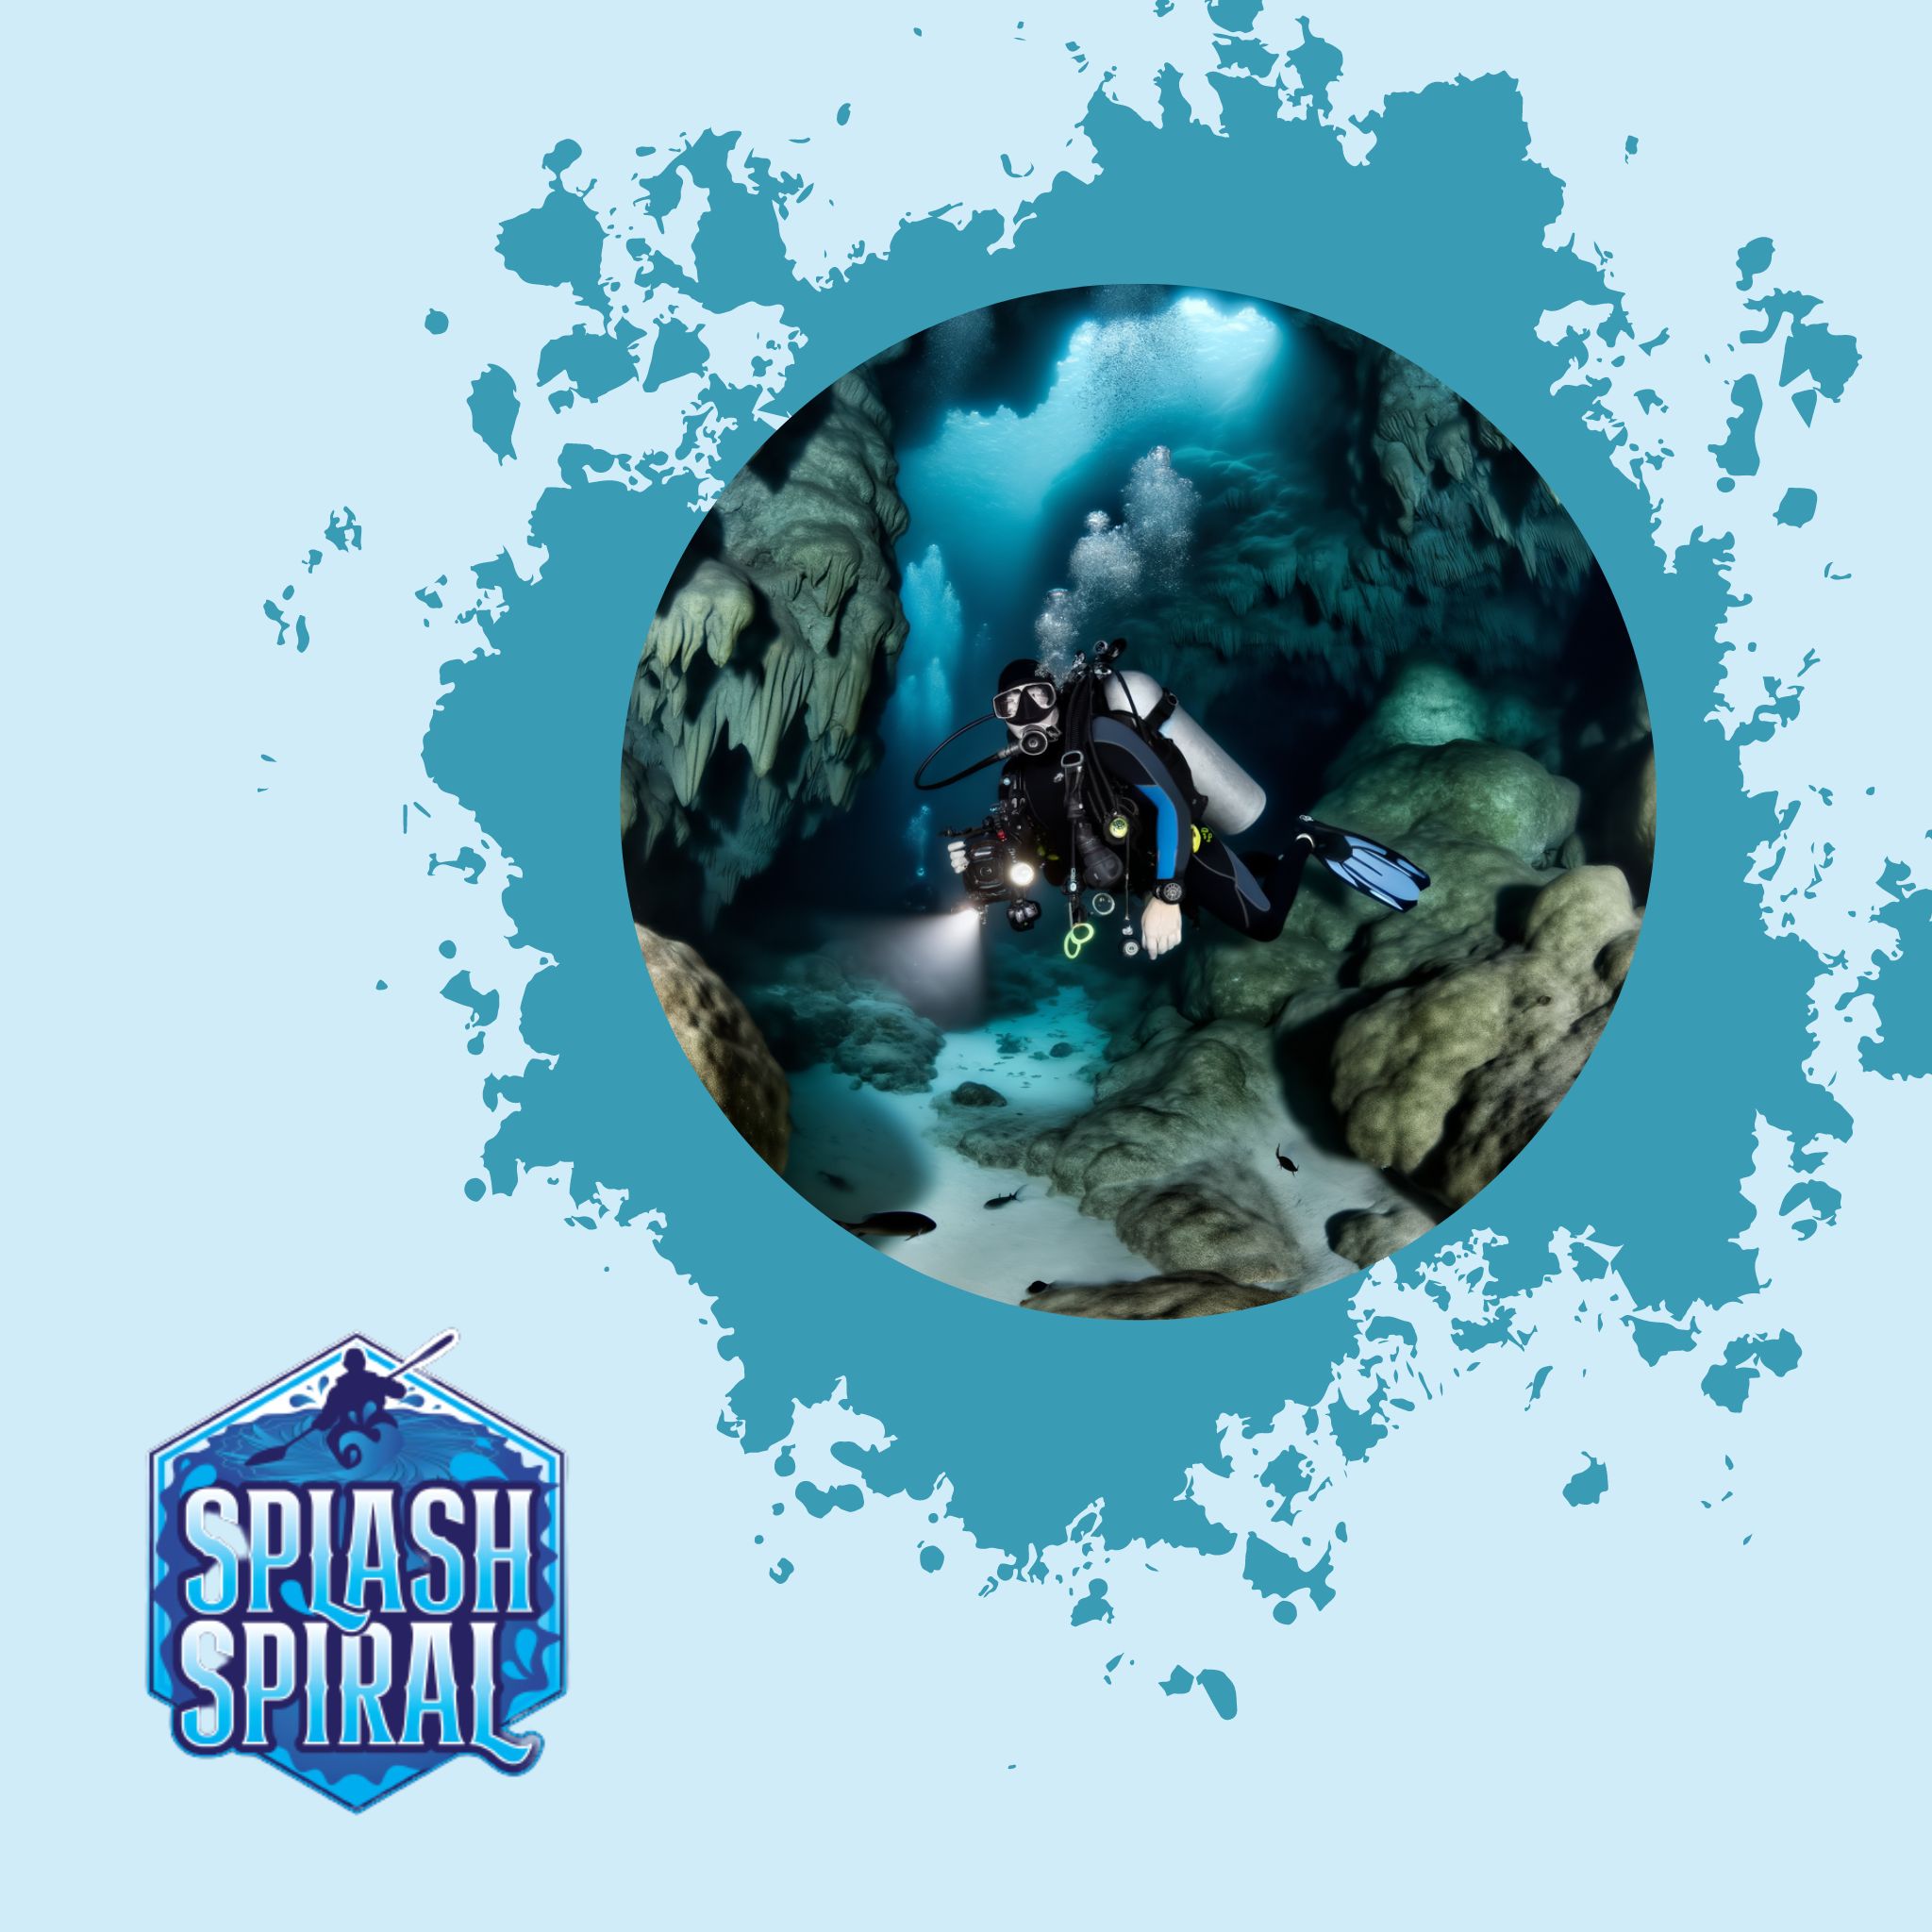
Underwater caves and caverns are some of the most mesmerizing places to photograph. However, capturing these surreal environments can be challenging, especially if you're new to underwater photography. This guide aims to provide you with straightforward, actionable tips to get started.
Introduction
Underwater cave photography is an exhilarating subset of underwater photography that combines the thrill of diving with the art of capturing the mysterious beauty of submerged caverns. These dark, often narrow environments offer unique photo opportunities that are not found in open water, but they also come with their own set of challenges.
First, it's crucial to understand the environment: underwater caves are different from your typical diving spots. They have limited light, confined spaces, and unique formations, which means you'll need specialized knowledge and equipment to navigate and photograph them successfully.
In this guide, we'll break down everything you need to get started, from the essential gear and basic skills to more advanced techniques and safety protocols. Whether you're a beginner or someone looking to expand your underwater photography repertoire, this guide aims to provide you with the actionable tips you'll need to dive in with confidence.
Understanding Cave Underwater Photography
When we talk about underwater cave photography, we’re referring to the art of capturing images in the labyrinthine, otherworldly spaces beneath the water's surface. Unlike regular underwater photography, this niche requires not just a good eye for photography, but also a sturdy grasp on diving techniques and a solid understanding of the unique challenges presented by these environments.
The first thing you need to know is that underwater caves can be dark, cramped, and complex. You’re not only dealing with the usual underwater photography obstacles like low-light conditions and moving subjects, but also navigating through tight passages, sharp rocks, and potential sediment clouds that can ruin visibility. Plus, caves often lack natural light altogether, so you’ll rely heavily on artificial lighting to illuminate your shots.
It's also essential to realize that underwater cave diving often comes with higher risks. Because of the enclosed nature of caves, you have to be extra vigilant about air supply management and navigation. Getting lost or running out of air should be out of the question, as these can lead to life-threatening situations.
Before you even think about clicking the shutter, you should be comfortable with basic underwater photography. Make sure you’ve got strong diving skills and you’re confident in your buoyancy control. Navigating and photographing in an overhead environment requires you to be steady and precise—both to capture the best images and to ensure your safety.
Once you’re confident in your general underwater photography skills, you can start focusing on the specialized techniques and equipment needed for cave photography. Mastering these basics first will make your dives more enjoyable and your photographs more impressive.
Understanding the challenges and gradually building up your skills are key. With the right preparation and mindset, capturing the awe-inspiring beauty of underwater caves becomes not just feasible, but incredibly rewarding.
Essential Underwater Photography Gear
Diving into underwater cave photography necessitates specific gear tailored to the unique challenges of this environment. Let’s break down the essential equipment you’ll need to get started.
Cameras
Choosing the right camera is your first step. For underwater cave photography, you'll want a camera that handles low light well and offers manual controls for precise adjustments. Entry-level DSLR and mirrorless cameras are excellent starting points:
- Canon EOS Rebel T8i: Affordable and beginner-friendly with good image quality and low-light performance.
- Sony Alpha a6400: Compact, versatile, and excels in various lighting conditions.
- Olympus Tough TG-6: A compact camera that's waterproof without additional housing and offers raw image shooting.
Housing
An underwater housing protects your camera from the demanding underwater environment. It is crucial to invest in a high-quality, reliable housing that fits your camera model perfectly.
- Ikelite Housings: Known for durability and excellent control options, making them suitable for beginners.
- Nauticam Housings: More expensive but offer superior build quality and additional features for better handling and ease of use.
When choosing a housing, ensure it has reliable seals and is rated to a depth greater than you plan to dive.
Lighting
Given the dark nature of underwater caves, proper lighting is crucial. Basic lighting techniques involve using external lights:
- Video Lights: Provide continuous illumination, essential for both photography and video in low-light settings.
- Strobes: Offer bursts of bright light, helping to freeze the motion and capture clear, vibrant images.
Look for compact, powerful lights such as the Kraken Sports Solar Flare Mini or the SeaLife Sea Dragon 5000 for solid performance in dark environments.
Accessories
Lastly, several accessories can enhance your underwater cave photography experience:
- Strobes: Provide brighter illumination. Models like the Inon Z330 are reliable and popular among underwater photographers.
- Focus Lights: Aid in accurate focusing in dim conditions. The Light & Motion Sola Dive Light is a versatile choice.
- Wet Lenses: Attach to the front of your housing, offering macro or wide-angle capabilities. The Nauticam WWL-1 provides impressive wide-angle shots.
Also, consider adding a good underwater tripod if you plan to experiment with long exposure shots for capturing surreal cave sceneries.
By investing in the right gear, you'll be well-equipped to handle the demanding yet captivating environment of underwater caves. Start with the basics and gradually upgrade as you gain more experience. Happy shooting!
Mastering the Basics
Buoyancy Control
When it comes to underwater cave photography, mastering buoyancy control is a must. Imagine trying to take a photo while you're drifting up, down, or into a wall—frustrating, right? Solid buoyancy control lets you hover in place, giving you the stability needed for clear, sharp images. Practice makes perfect. Spend time in shallow water mastering your buoyancy before you even think about grabbing a camera. A good trick is to get your weights just right and focus on controlled breathing. Also, consider using a buoyancy compensator to fine-tune your position.
Camera Settings
Low-light conditions are a given in underwater caves. You'll want to adjust your camera settings to counteract this. Use a higher ISO—somewhere between 800 and 1600 works for most cameras—without overly sacrificing image quality. Set your aperture to a wider setting (like f/2.8 or f/4) to allow more light in, and opt for slower shutter speeds, but beware of too much motion blur. Manual focus is generally more reliable under these conditions since auto-focus can struggle in low light. And don't forget about white balance; fine-tuning this setting can help you get more accurate colors, crucial in underwater photography.
Composition Tips
Composition can make or break your photos, no matter how good your gear is. Basics like the rule of thirds still apply underwater. Position interesting elements—like stalactites or divers—along these imaginary lines for a balanced shot. Think about scale: including a diver in the frame can offer a sense of how vast and awe-inspiring the cave is. Depth is another crucial aspect. Use layers in your shots to show how deep the cave goes. A good tip is to shoot from a lower angle looking up; it makes the space look bigger and more dramatic. Finally, try to keep your shots simple. Less is often more when capturing the intricate beauty of underwater caves.
Advanced Techniques
Strobe Positioning
Mastering strobe positioning is crucial for capturing the ethereal beauty of underwater caves. Poor strobe positioning can create harsh shadows and backscatter, which can ruin your shot. Here's how to do it right:
-
Start with Basics: Place your strobes symmetrically, about an arm's length away from your camera on either side. This helps to evenly light the scene without casting too many shadows.
-
Angle Matters: Tilt your strobes slightly outward to minimize backscatter—those pesky particles that reflect light and show up as white specks in your images. The goal is to light the scene, not the water between your lens and the subject.
-
Experiment: Each cave is unique. The trick is to experiment with strobe angles and distances to find what works best for your specific environment. Don't be afraid to adjust mid-dive.
Long Exposure
Long exposure photography can produce dramatic results in underwater cave settings where natural light is scarce. Here’s how to leverage this technique:
-
Use a Tripod: Stability is key for long exposure shots. Use a sturdy underwater tripod to keep your camera steady and prevent motion blur.
-
Slow Shutter Speed: Set your camera to a slow shutter speed, generally around 1/15 to several seconds. The exact setting will depend on ambient light conditions and the desired effect.
-
Light Painting: Consider using a handheld light source to "paint" the scene during the exposure. This involves moving the light to illuminate different parts of the cave, creating a more evenly lit and dynamic final image.
- Adjust ISO and Aperture: Keep your ISO as low as possible to reduce noise, and adjust your aperture to achieve the desired depth of field.
Video Shooting Tips
Shooting video in underwater caves can be as rewarding as it is challenging. These tips will help you capture smooth and engaging footage:
-
Stabilize Your Camera: Use a housing with good grips and consider a stabilizing rig to keep your shots steady. Your buoyancy control plays a significant role here as well.
-
Lighting is Key: Like photography, lighting can make or break your video. Use continuous lighting rigs to ensure consistent illumination. Keep the lights diffused to avoid harsh shadows and overexposure.
-
Move Slowly: Quick movements can make your footage look shaky and disorienting. Move your camera slowly and steadily, panning gently to capture the vastness and textures of the cave.
-
Plan Your Shots: Have a clear idea of the shots you want before you dive. This will help you maximize your dive time and battery life, ensuring you capture all the essential footage.
-
Sound Considerations: If your video includes ambient sound or dialogue, invest in a good-quality underwater microphone. Otherwise, consider overlaying the video with external audio during post-production.
These advanced techniques will help elevate your underwater cave photography, allowing you to capture the stunning beauty and mystery hidden beneath the surface. With practice and patience, your skills will continue to improve, leading to more remarkable and awe-inspiring images.
Safety First
Photographing underwater caves can be incredibly rewarding, but it also poses risks that require strict adherence to safety protocols. Here’s what you need to know to ensure a safe and enjoyable dive:
Pre-Dive Checks
Before you set foot in the water, performing thorough pre-dive checks is paramount. This step cannot be overstated—making sure that your gear and body are ready for the dive ensures you are less likely to encounter mishaps.
- Gear Inspection: Double-check all your equipment, focusing especially on your underwater housing, cameras, and lighting gear. Ensure all seals are intact and that your batteries are fully charged. Inspect your diving gear, including regulator, BCD (buoyancy control device), and fins.
- Functionality Test: Conduct a quick functionality test of your camera gear underwater before heading into a cave. This ensures that everything is working correctly and gives you a chance to make quick adjustments if needed.
- Dive Buddy Coordination: The buddy system is not optional. Make sure your dive buddy is equally prepared, and discuss each other’s equipment and hand signals before diving. A reliable buddy can be your lifeline in an emergency.
Dive Planning
Effective dive planning is the backbone of a safe and successful underwater cave photography session. Proper planning does more than prevent accidents; it also maximizes the time you have to capture stunning images.
- Understand the Cave Layout: Research and familiarize yourself with the cave's layout before diving. Know the entry and exit points, and identify any potential hazards such as narrow passages or areas prone to silt disturbance.
- Plan Your Route: Create a detailed dive plan including your route, the depth you’ll be diving to, and the time you expect to spend at each point. Make sure you and your buddy are on the same page.
- Set Time Limits: Establish a strict time limit for your dive. Cave environments can quickly become disorientating, and it’s easy to overstretch your air supply. Stick to your planned time as closely as possible to avoid unnecessary risks.
Emergency Procedures
Even with meticulous planning and preparation, emergencies can still occur. Knowing what to do in these situations can be the difference between a close call and a disaster.
- Basic Emergency Drills: Practice basic emergency procedures regularly, including sharing air with your buddy, using a backup regulator, and ascending safely. The more familiar you are with these drills, the calmer you’ll be in an emergency.
- Navigation Skills: Getting lost in a cave is a real danger. Utilize guide ropes or lines whenever available. If you become disoriented, remain calm and follow the guide line back to the entrance.
- Signaling Equipment: Always carry signaling devices such as whistles, dive lights, or underwater air horns. If you encounter trouble, these tools can help attract your buddy’s attention quickly.
Recap and Debrief
After each dive, conduct a quick debrief with your buddy. Discuss what went well and identify any areas for improvement. Regularly reviewing your performance helps you become more adept at managing future dives safely.
By following these safety protocols, you can mitigate the risks associated with underwater cave photography and focus on capturing the breathtaking beauty of these hidden worlds. Safety first—great shots come naturally when you’re well-prepared and stress-free.
Resources for Further Learning
Diving into the depths of underwater cave photography is an exciting journey, but having the right resources can make all the difference. Whether you need more hands-on training or insightful tips, these resources can help you hone your skills.
Online Courses and Tutorials
-
Underwater Photography Guide: A treasure trove of articles and tutorials that cover everything from beginner tips to advanced techniques. Visit Underwater Photography Guide to get started.
-
Beneath the Surface: This YouTube channel offers excellent video tutorials on underwater photography and videography, providing visual learning for various techniques. Check out Beneath the Surface on YouTube.
Workshops and Courses
-
SplashSpiral Underwater Photography Workshops: These workshops are perfect for beginners and offer hands-on experience under the guidance of professionals. Learn more about upcoming workshops at SplashSpiral Workshops.
-
National Geographic Expeditions: For a premium learning experience, National Geographic offers expeditions that combine photography and adventure. Details can be found at National Geographic Expeditions.
Books and Publications
-
"The Underwater Photographer" by Martin Edge: This book is considered the bible of underwater photography, offering comprehensive insights and techniques suitable for both beginners and seasoned photographers.
-
"Underwater Photography Masterclass" by Alex Mustard: A more advanced guide that delves into the nuances of capturing stunning underwater images, perfect for those looking to elevate their skills.
Forums and Communities
-
ScubaBoard: A large community of divers and underwater photographers where you can ask questions, share your work, and get advice from experienced divers. Join the conversation at ScubaBoard.
-
WetPixel: An active forum and news site dedicated to underwater photography. It's a great place to stay updated on the latest gear, techniques, and trends. Visit WetPixel Forum.
Practice and Certification
-
PADI Digital Underwater Photographer Course: This course provides an excellent foundation in digital underwater photography, combining practical dives and theory. More details are available at PADI Courses.
-
Local Dive Shops and Instructors: Many dive shops offer photography courses and guided dives, providing opportunities for practice under the supervision of experienced instructors.
By leveraging these resources, you'll be well-equipped to improve your underwater cave photography skills, ensuring you capture the breathtaking beauty hidden beneath the surface. Happy shooting and safe diving!
Conclusion
Capturing the otherworldly beauty of underwater caves and caverns is a thrilling venture, but it requires dedication, preparation, and practice. Throughout this guide, we've covered essential aspects like understanding the unique challenges of cave underwater photography, choosing and managing your gear, mastering fundamental techniques, and prioritizing safety.
Recapping the key points: Start with the basics of buoyancy control and camera settings, then move towards advanced techniques like strobe positioning and long exposures. Ensure you have the right gear, including a reliable camera, housing, and lighting setup. Always keep safety as your top priority by performing pre-dive checks, planning your dives meticulously, and being prepared for emergencies.
Consistent practice is your best friend in this journey. Spend time honing your skills, experimenting with different settings and compositions, and developing your unique style. Remember, every dive is an opportunity to learn and improve.
For those keen to further elevate their skills, consider participating in underwater photography workshops or diving deeper into additional resources. Check out Scuba Diving and Underwater Photography Workshops for more information and training opportunities.
Ready to dive in? Embrace the challenges, relish the adventures, and happy shooting!